SAFETY FIRST: When working with cleaner or glue, always use solvent resistant gloves and wear protective glasses or shield. Work only in areas with sufficient ventilation or wear a respirator with cartridges for organic vapor . If the glue or cleaner comes into contact with skin, wash the area thoroughly with soap and water.
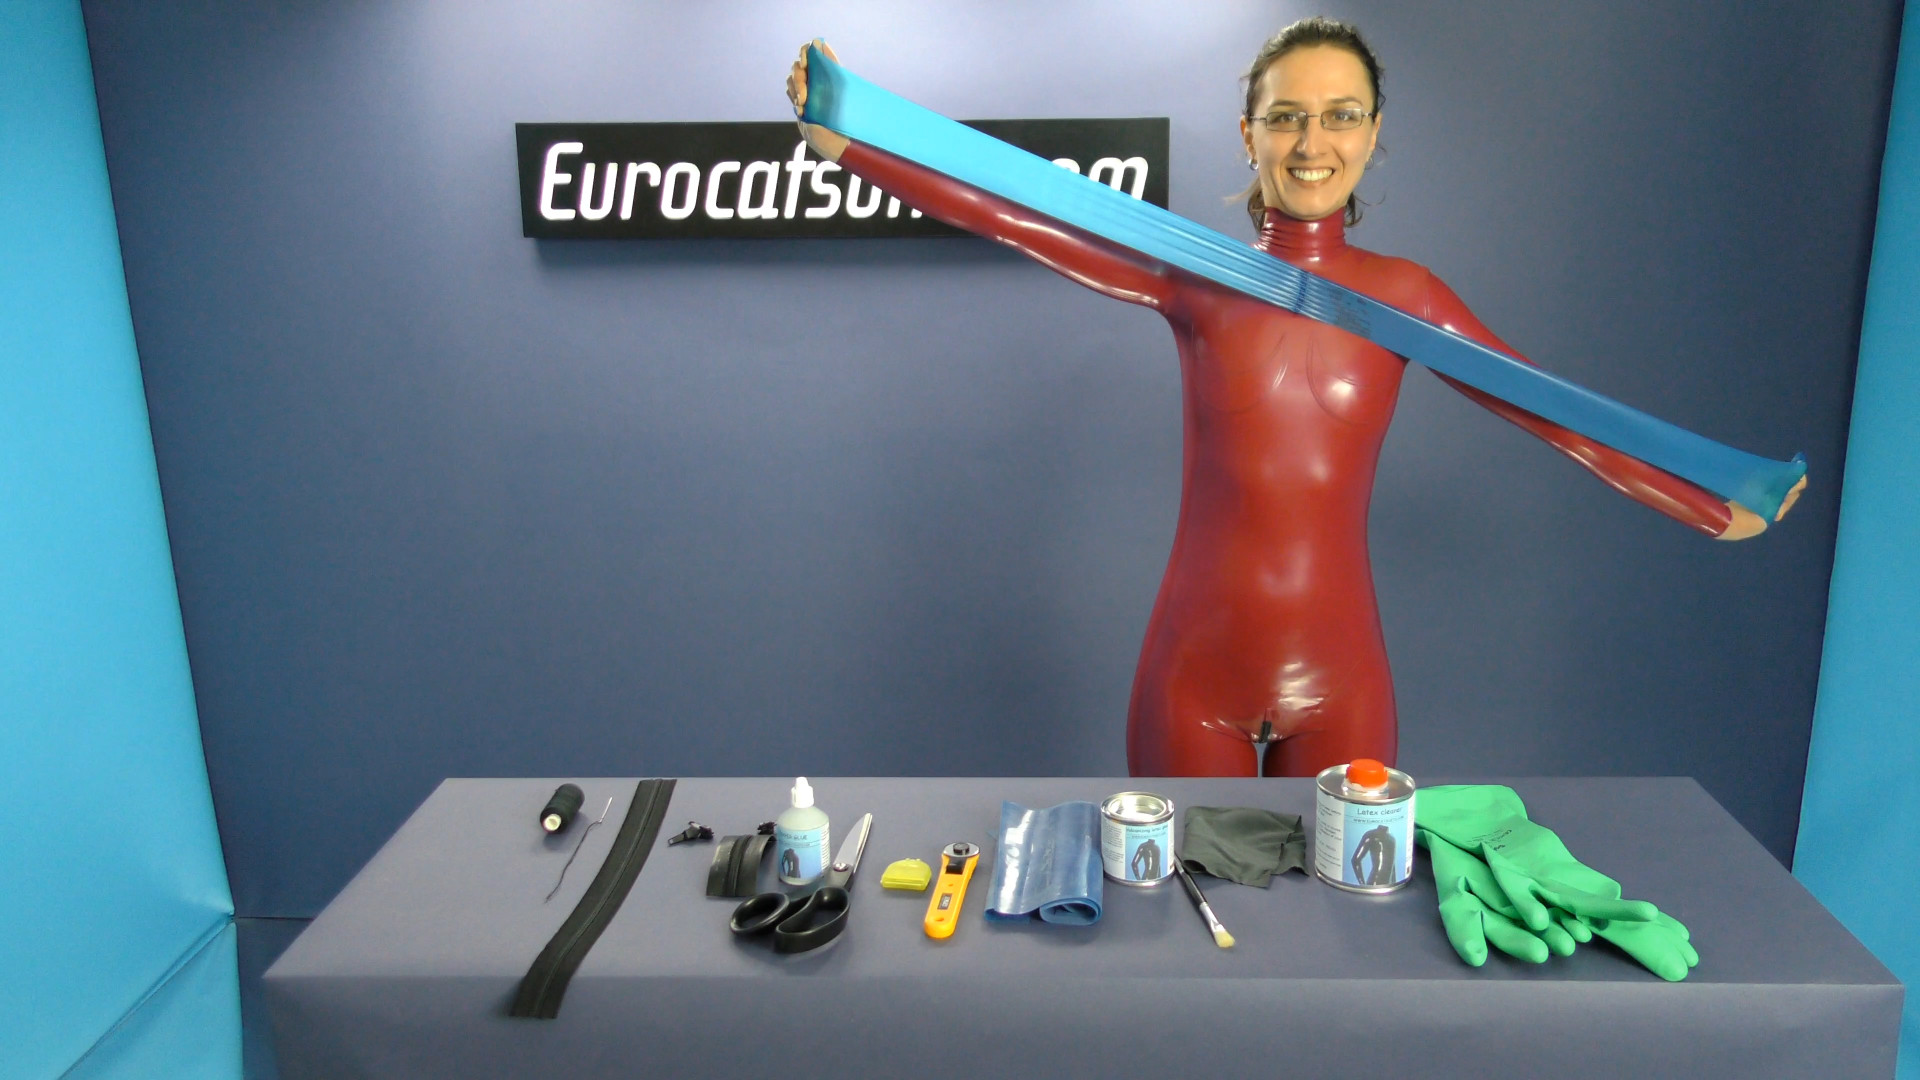 |
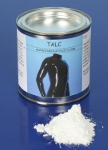
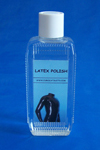
What you will need: -latex sheeting - vulcanizing glue and small brush -zipper glue, if you also want to attach the zipper to latex -rotary cutter -latex cleaner ... needle and thread, scissors, zipper with as many sliders as you need |
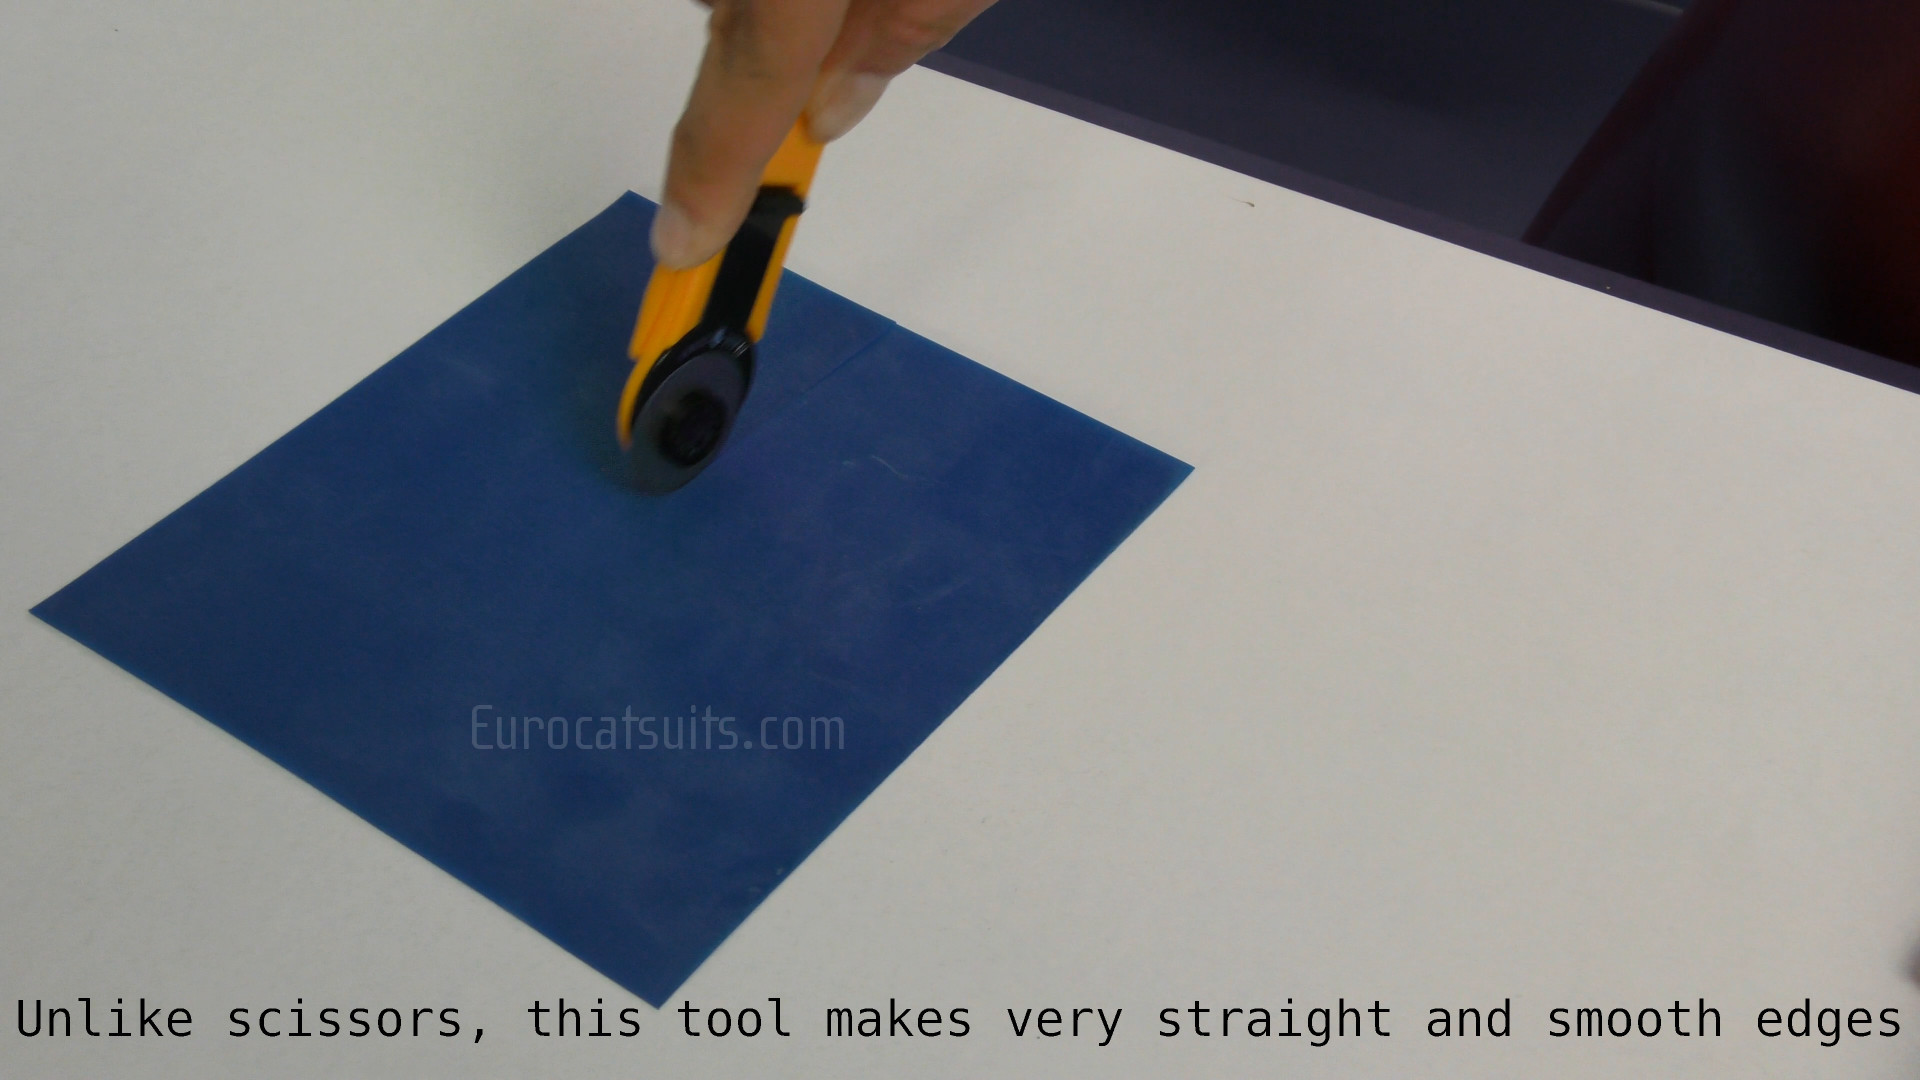 |
First you need to cut the pieces of latex which you want to glue together. Best cuts can be achieved with rotary cutter |
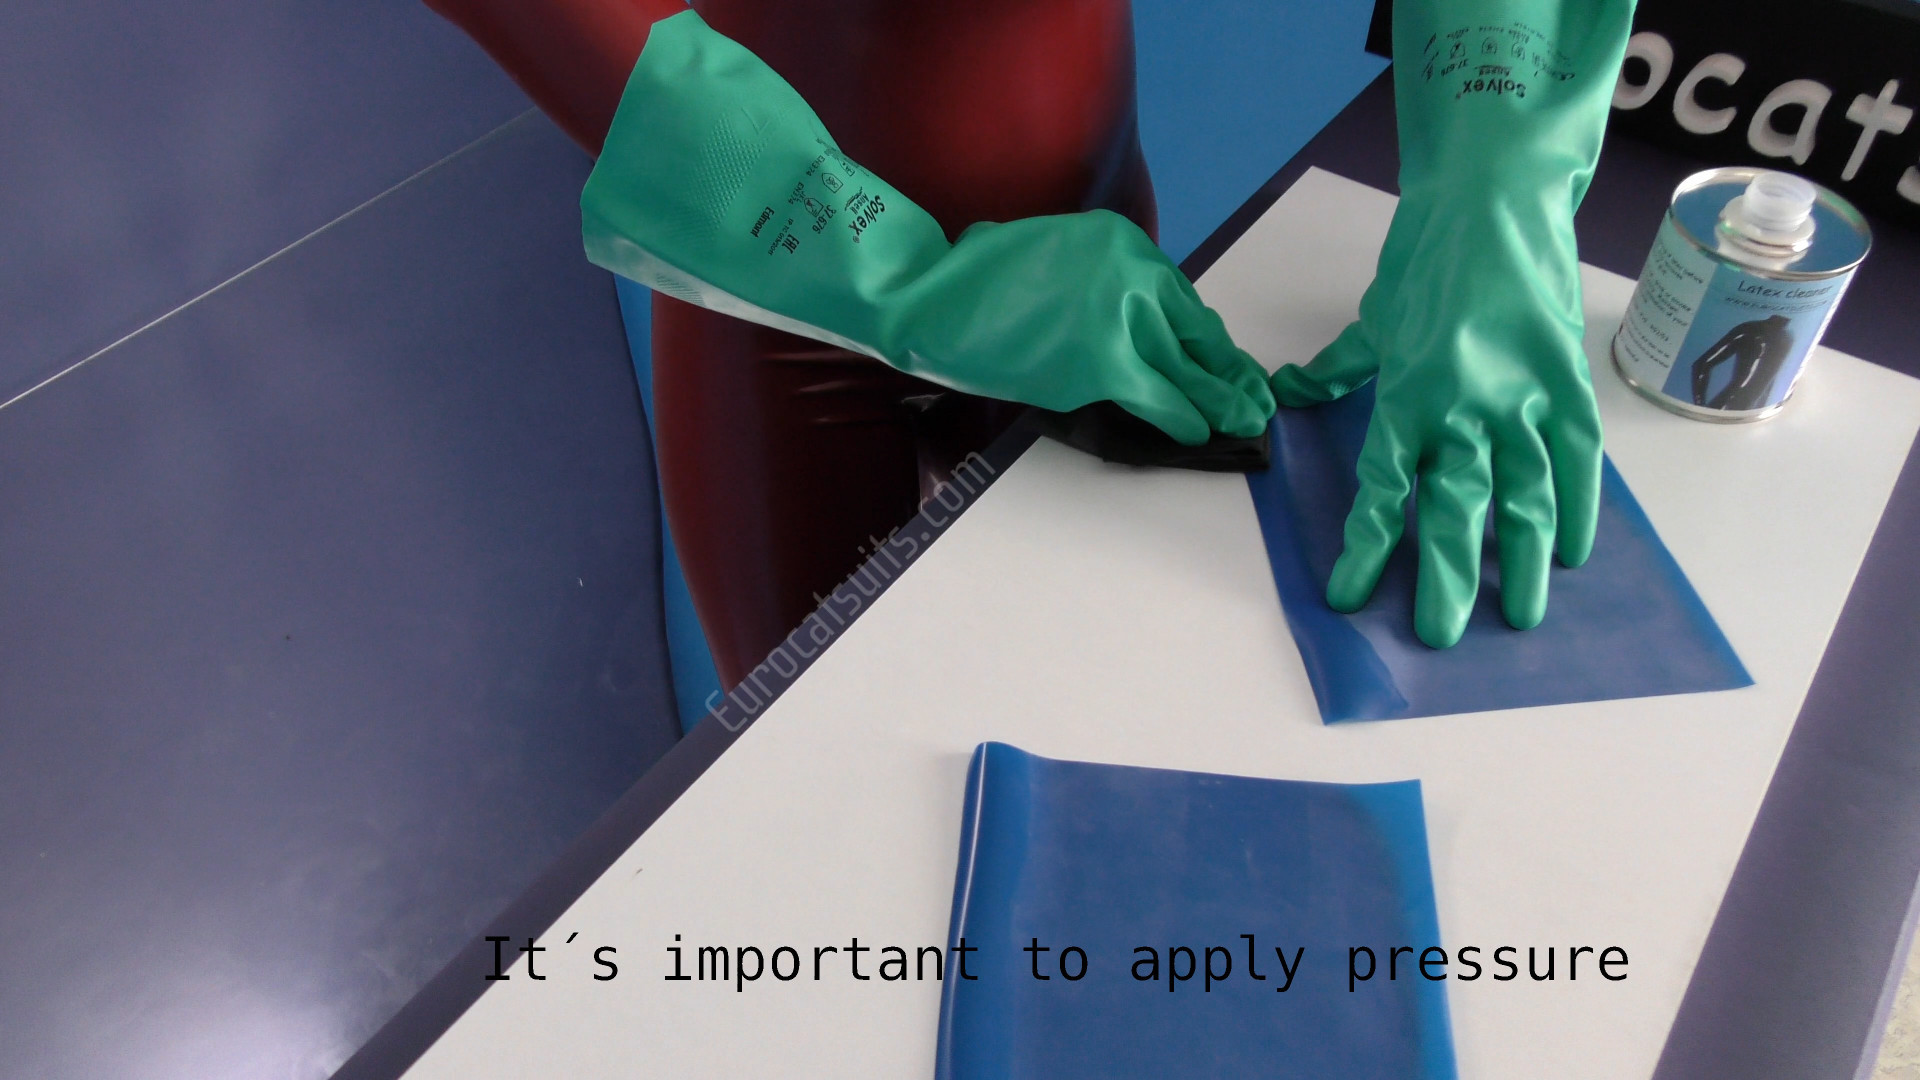 |
We can start cleaning the edges ( where the seam will be ) with latex cleaner. The latex must be cleaned very thoroughly. The seam will be about 0.5cm/0.2in wide, so the area, which you need to clean should be a little wider. |
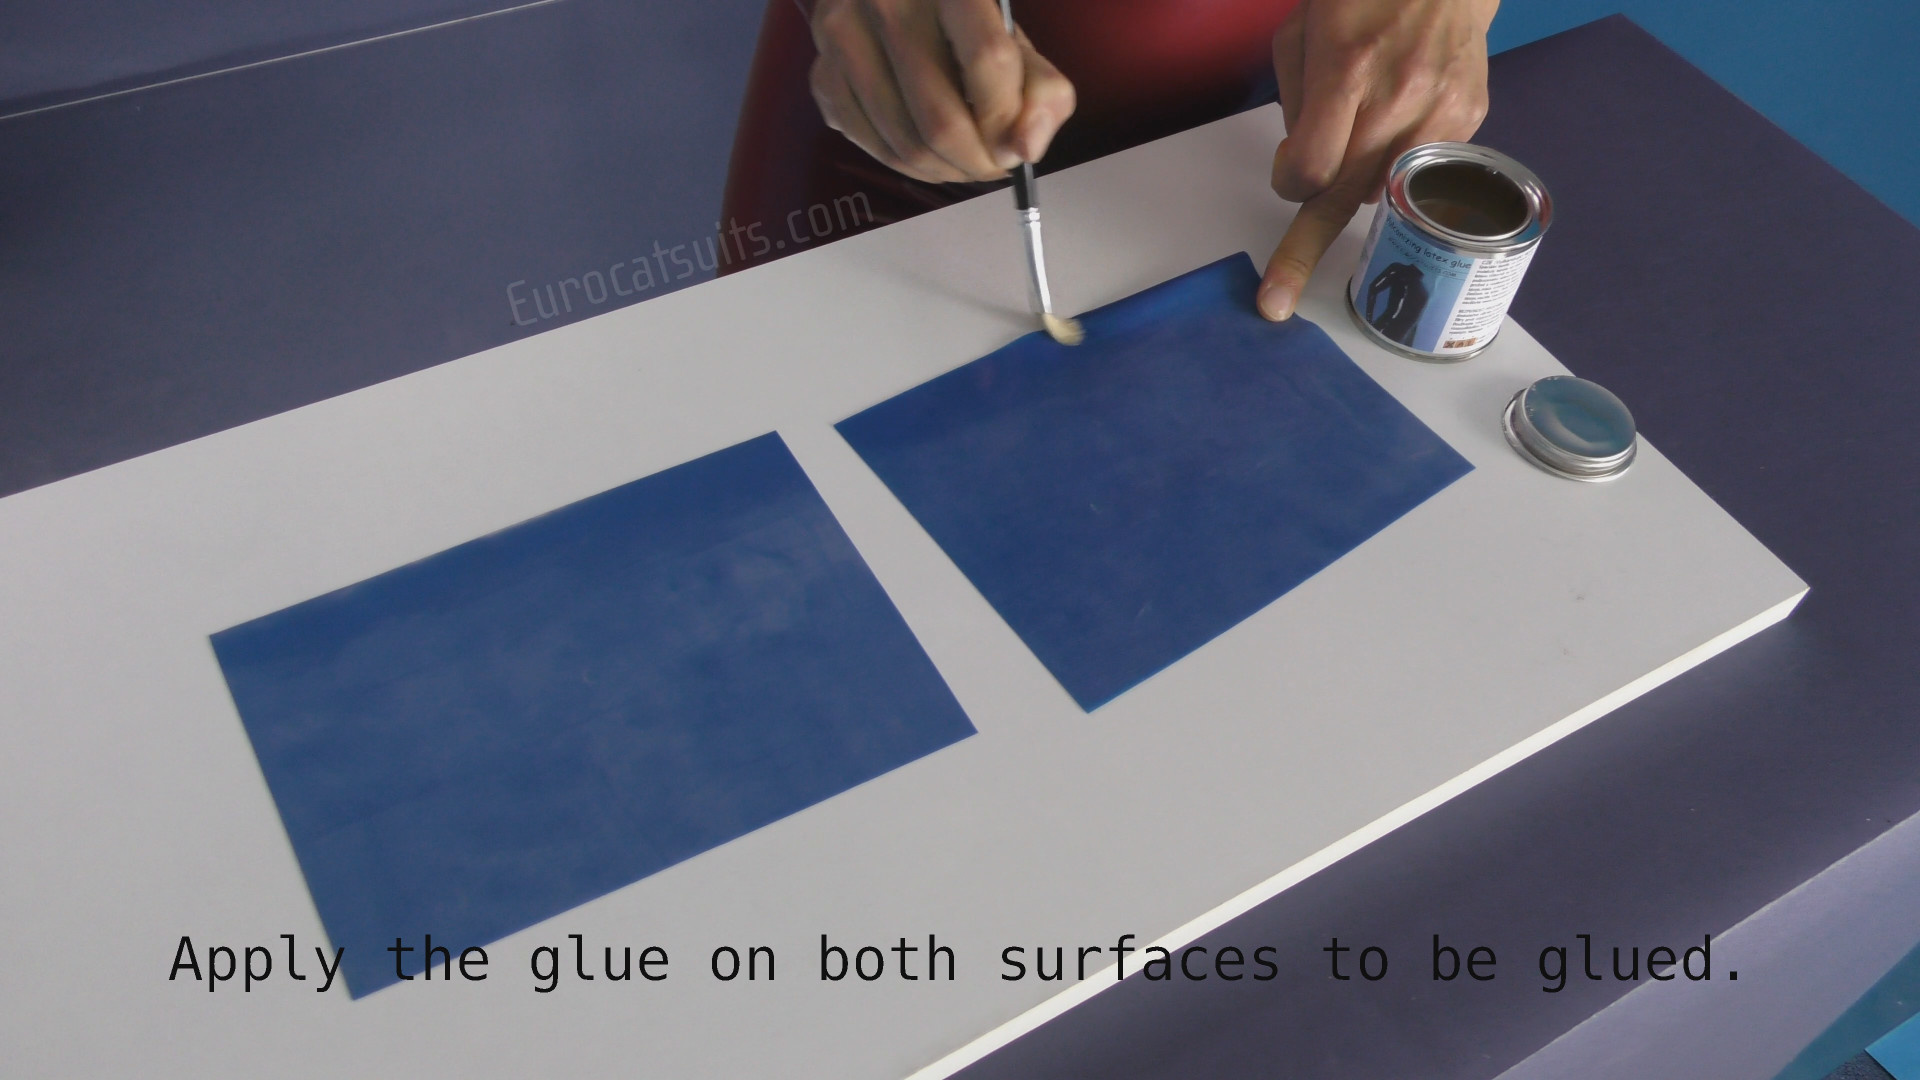 |
After ir dries completely (about 20 minutes) we can apply vulcanizing latex glue to both pieces. |
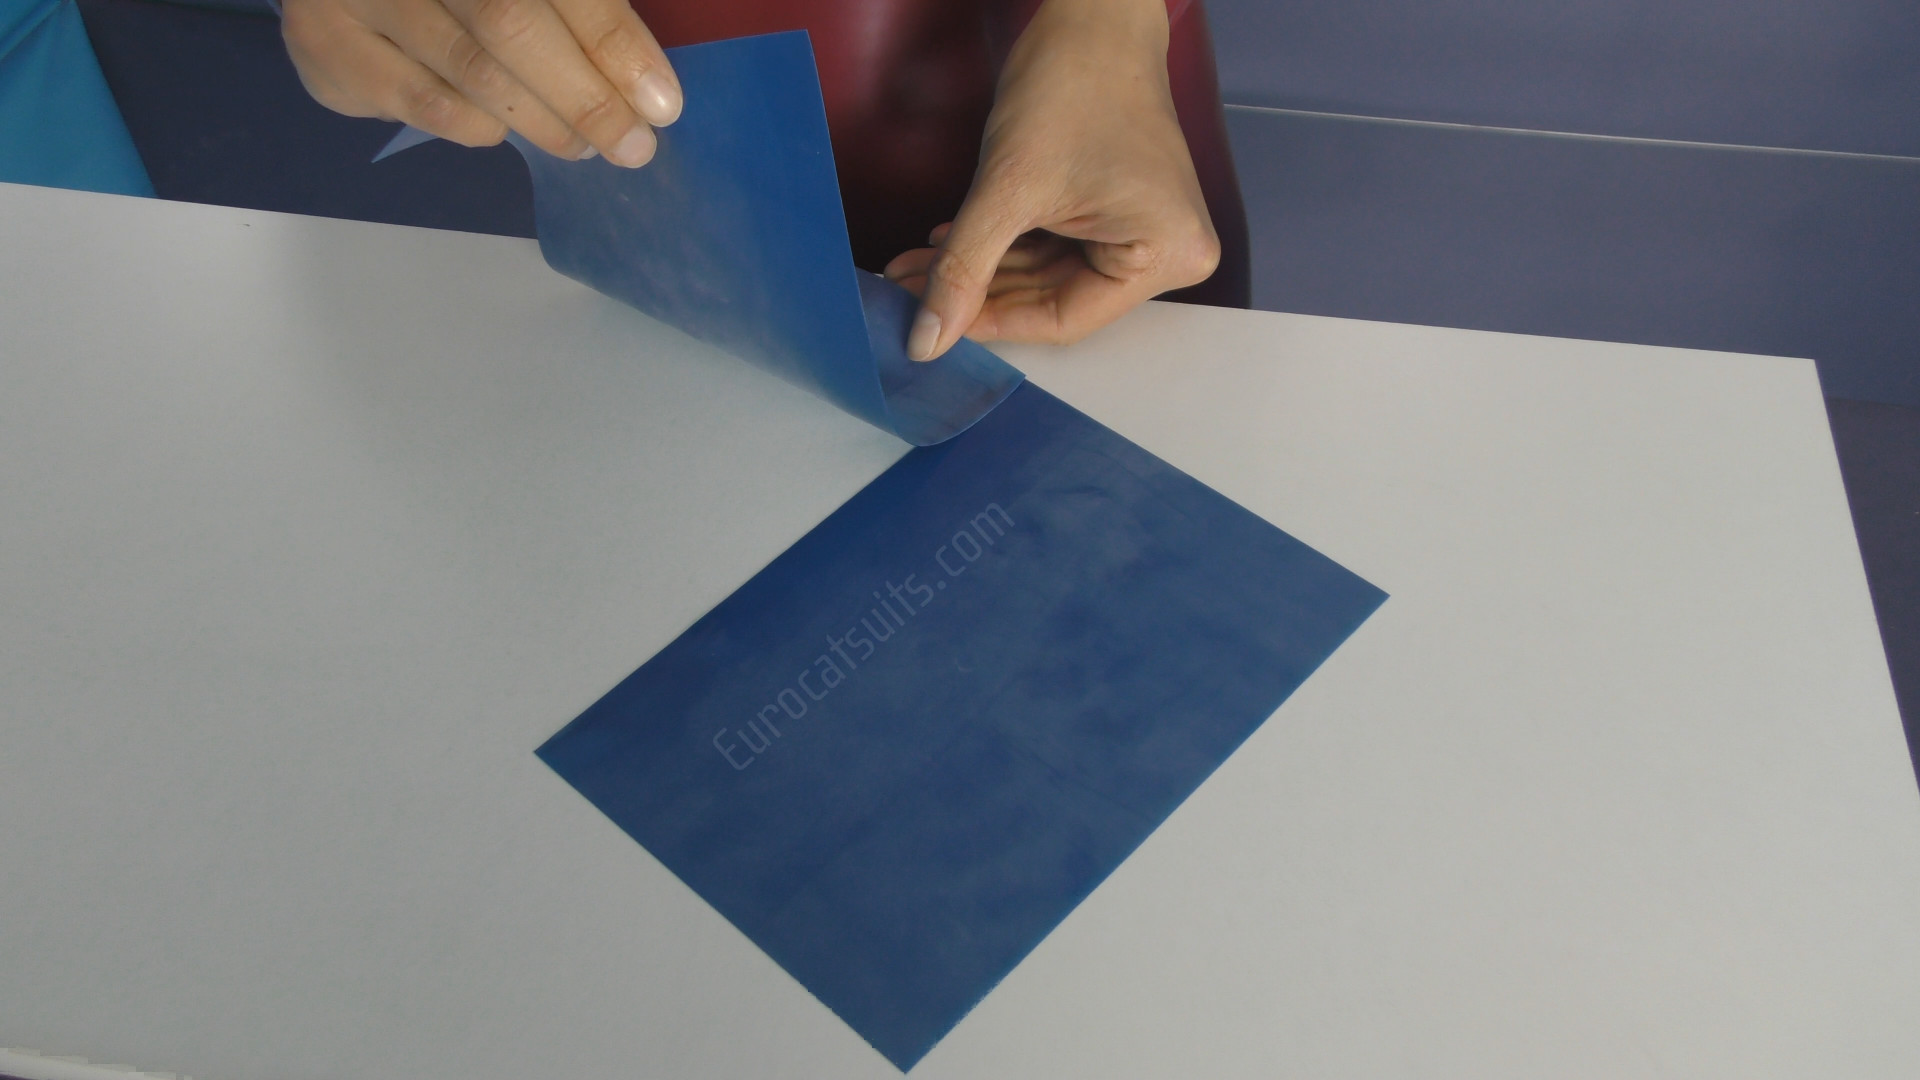 |
After the glue dries (10-15minutes), we can assemble the pieces together . |
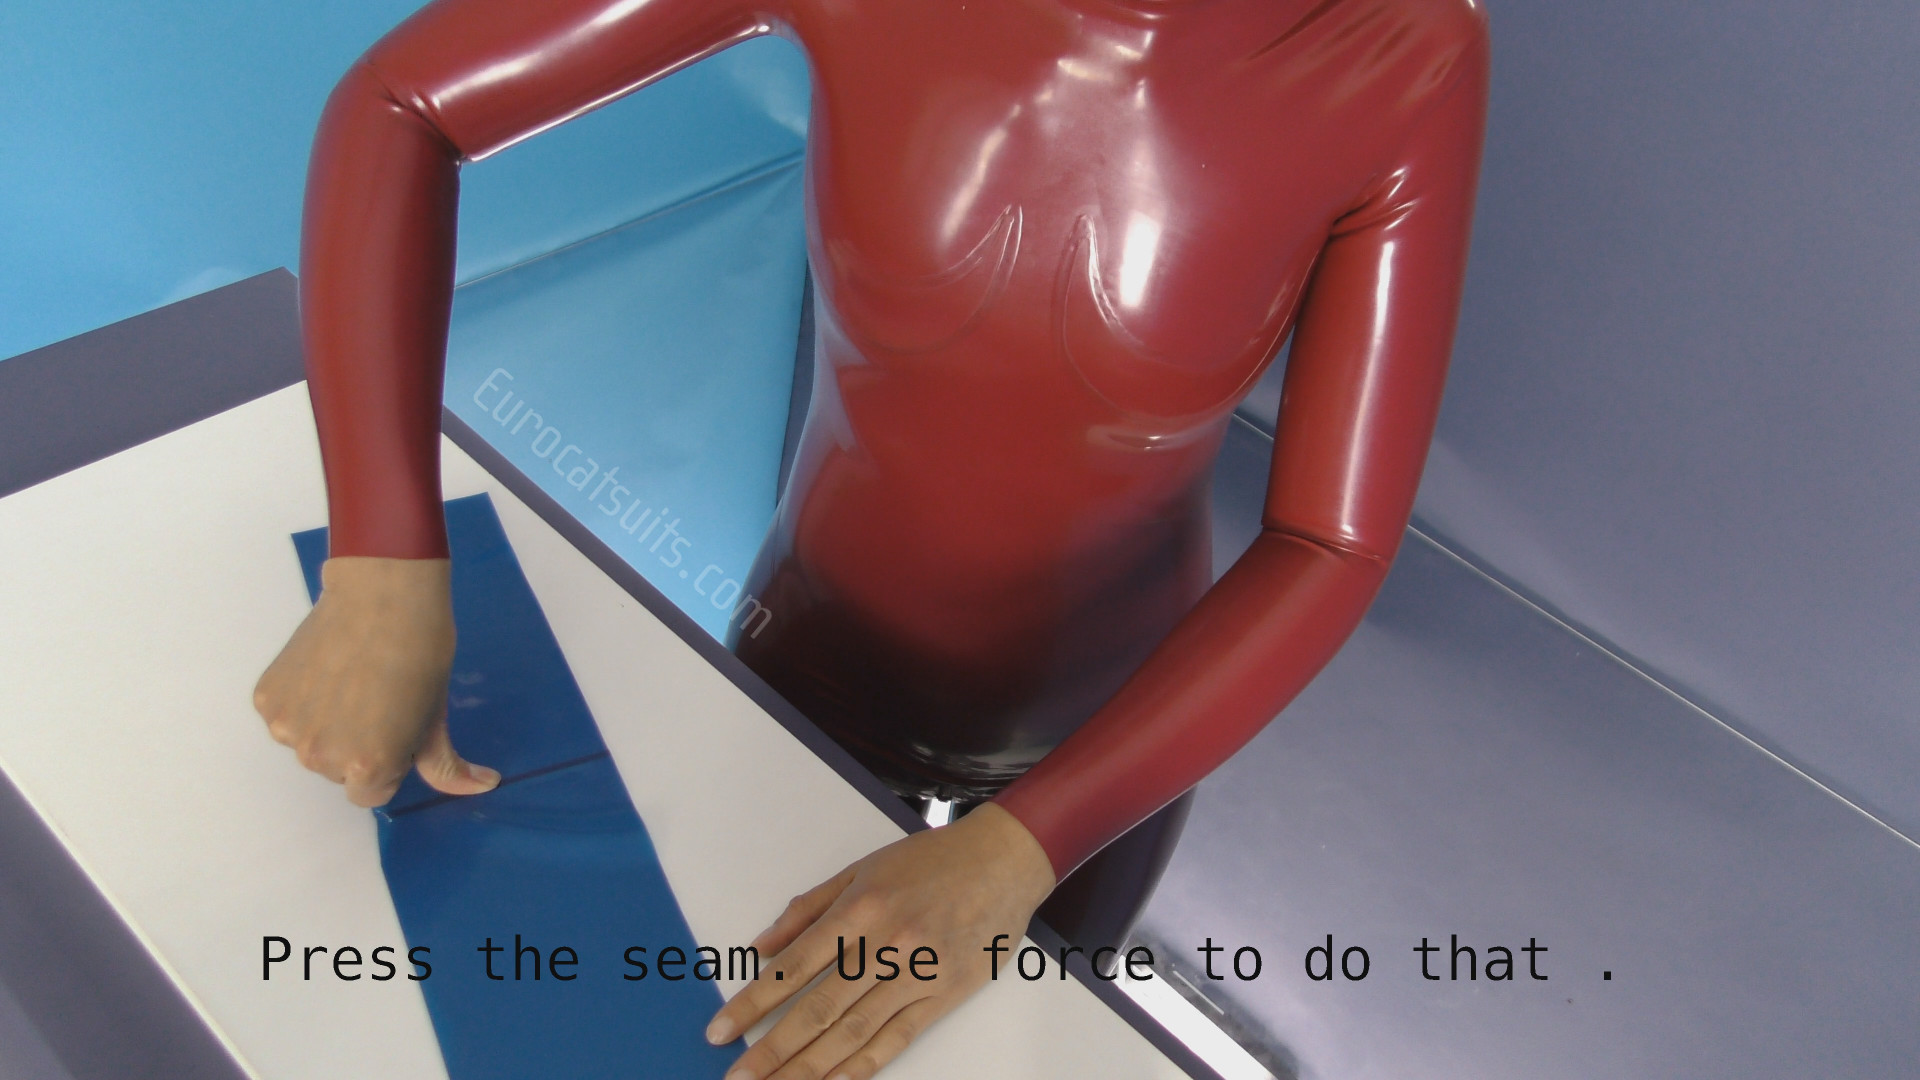 |
Press the seam firmly with your thumb . |
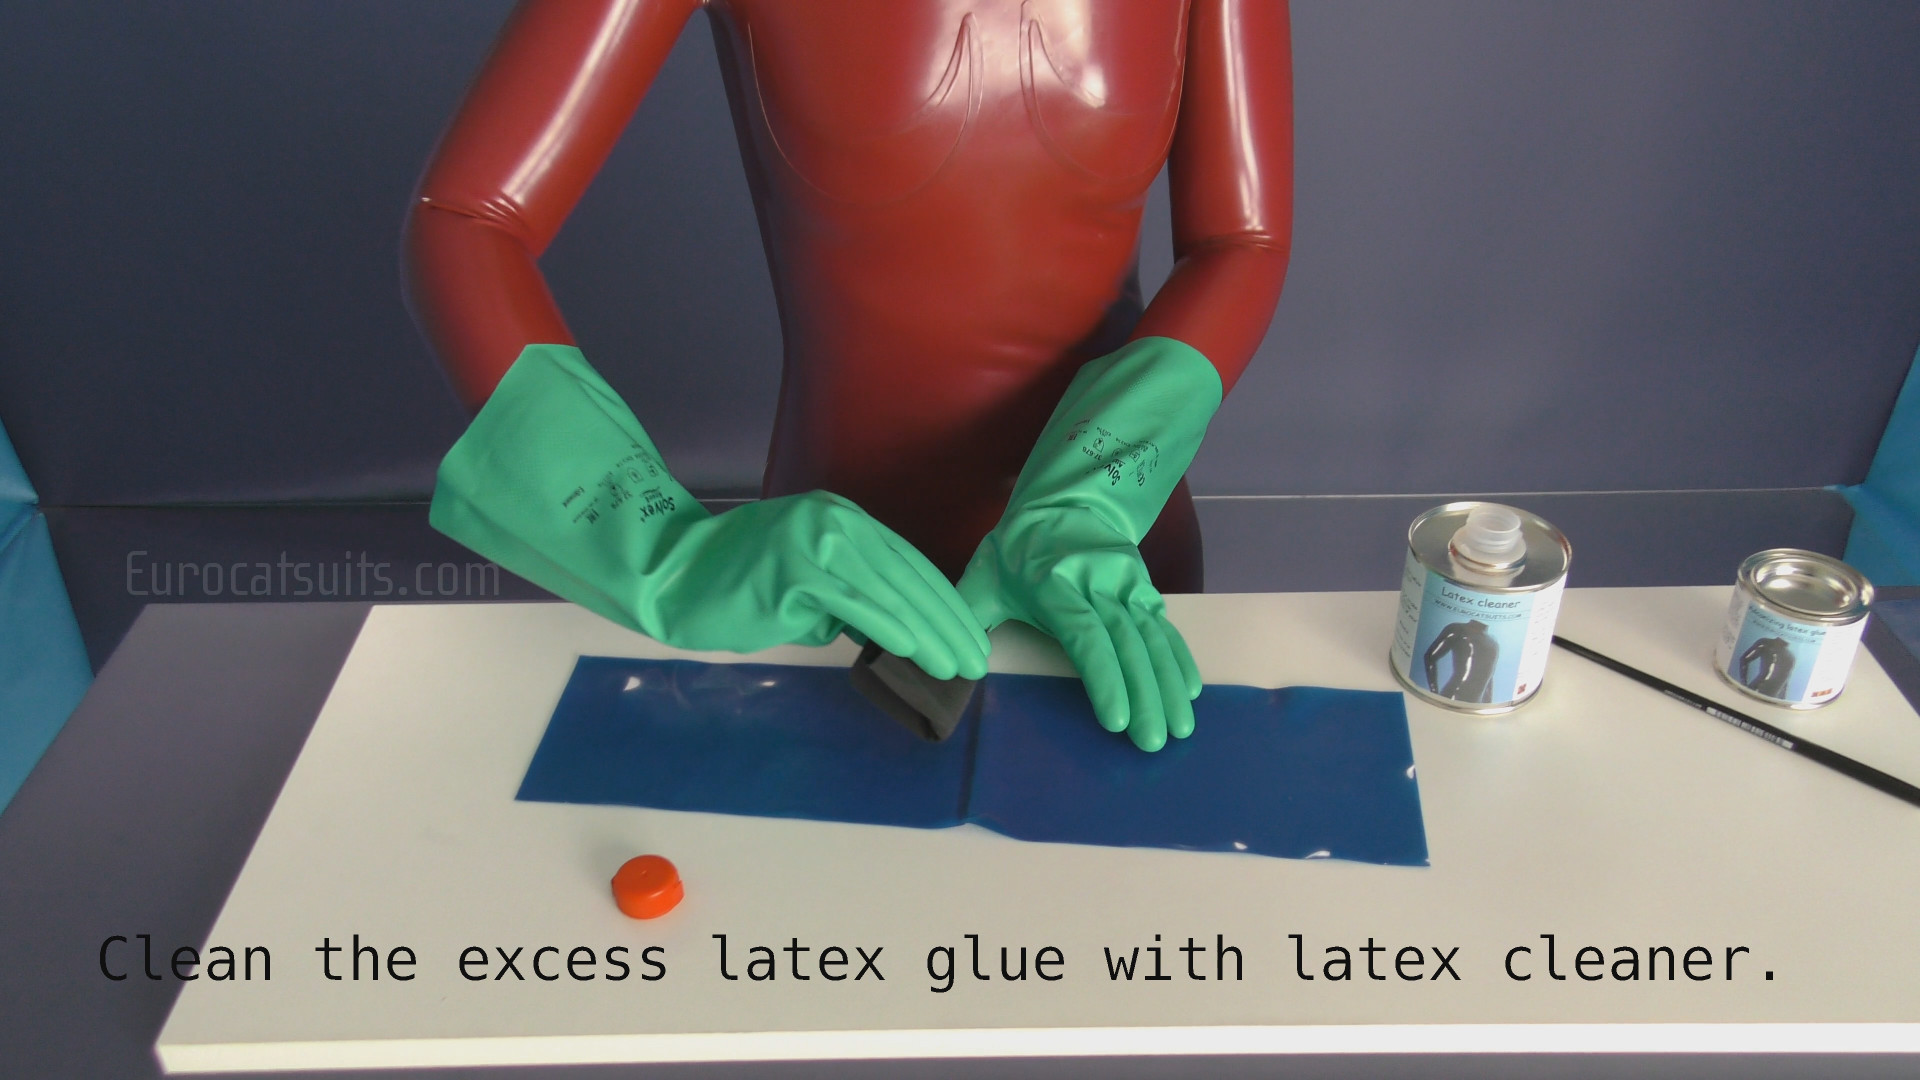 |
Clean the excess glue with latex cleaner |
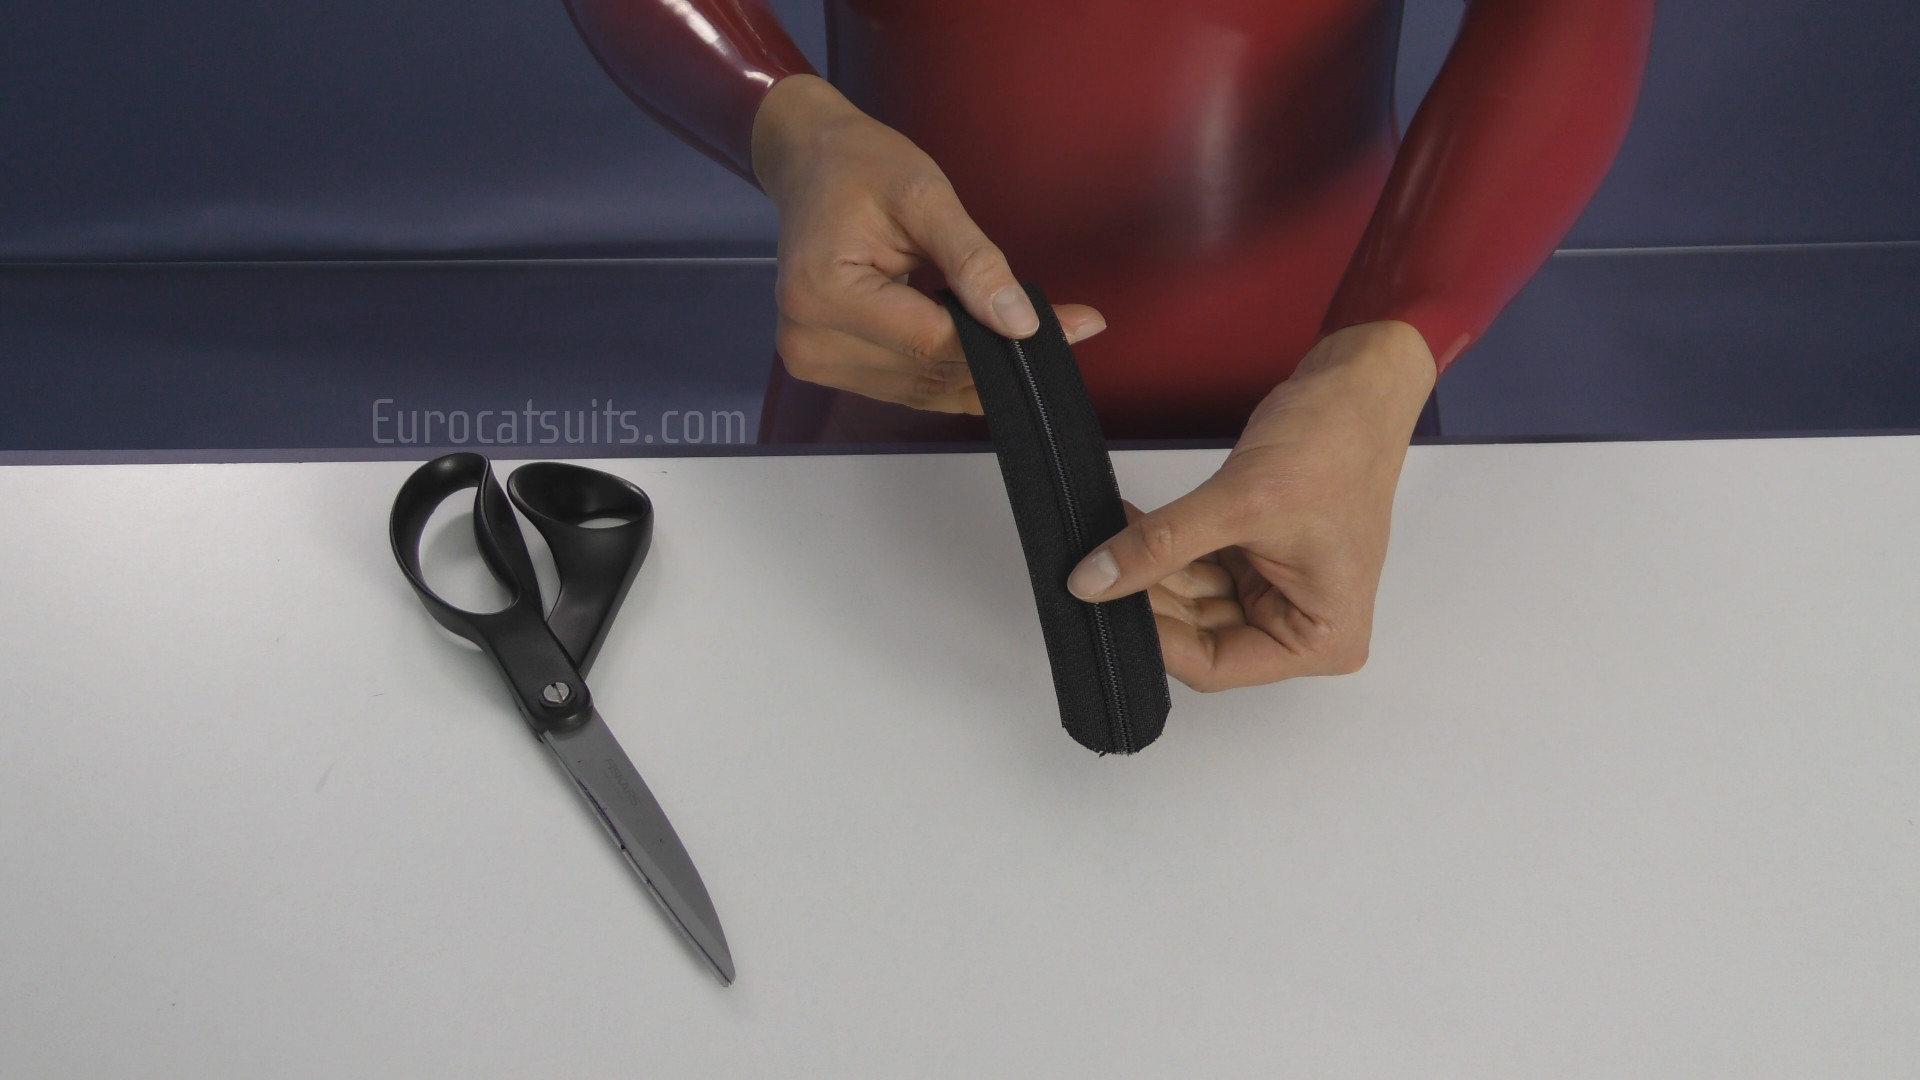 |
If you want your new latex outfit to have a zipper attached, you can now proceed with it. First, round up the edges of the zipper. |
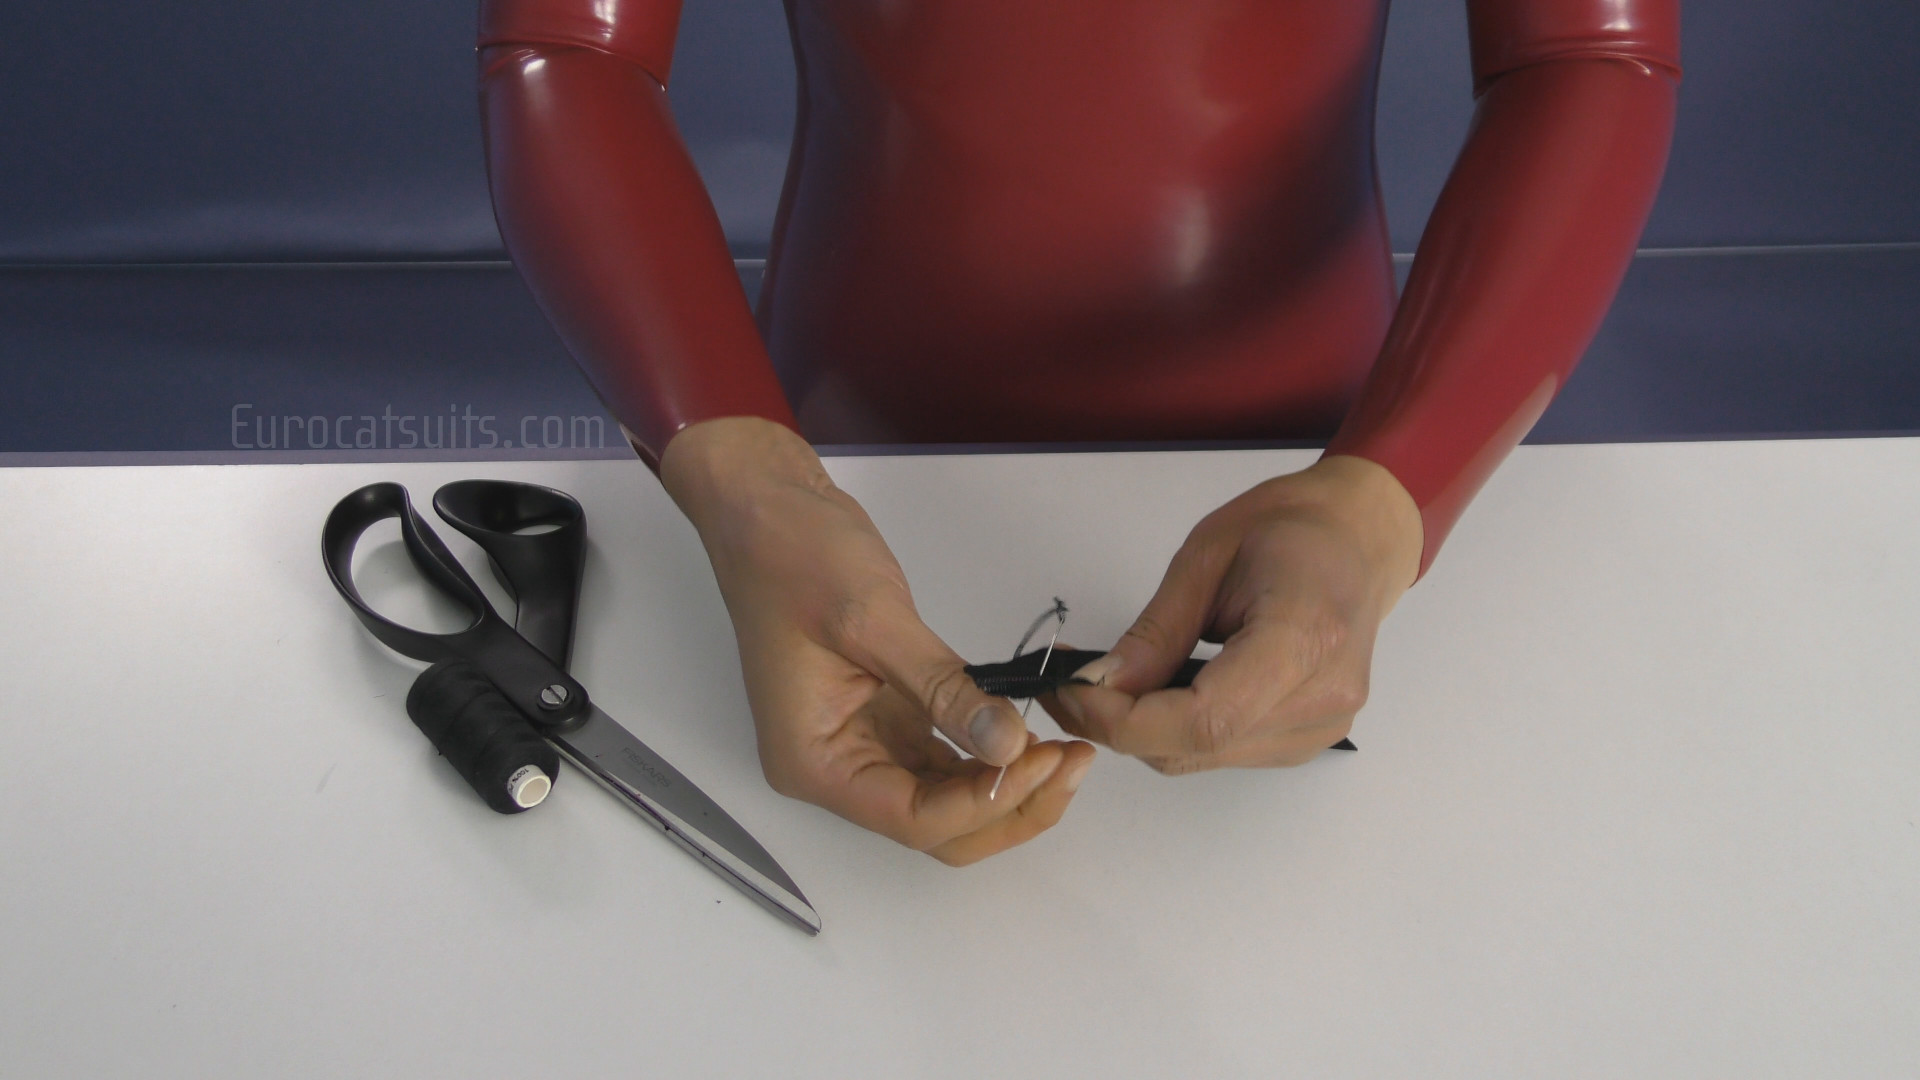 |
To prevent the slider from running into the latex, you will need to put some sort of stop at the end of the zipper. It´s very easy just to sew few rounds of thread about 2cm/0.8in from the end. |
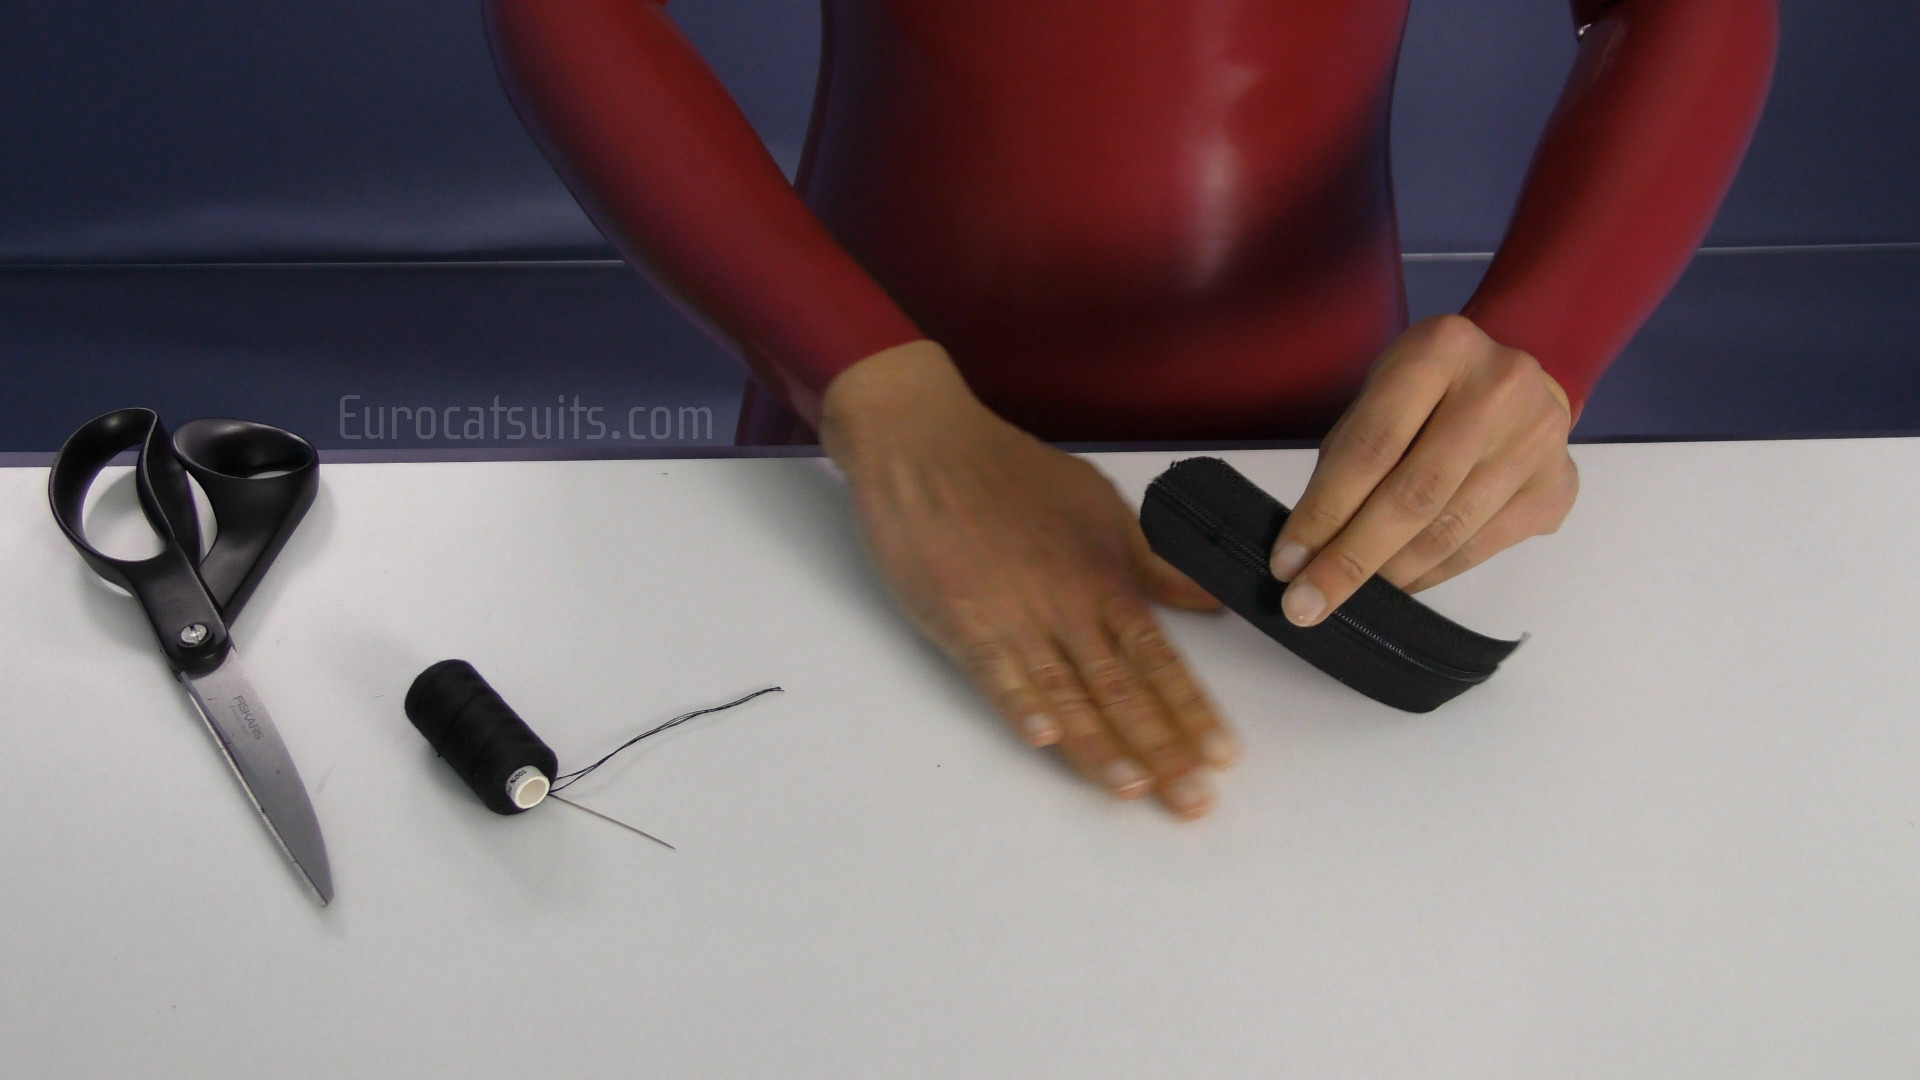 |
This is what it should look like. The thread should be the same color as the zipper. |
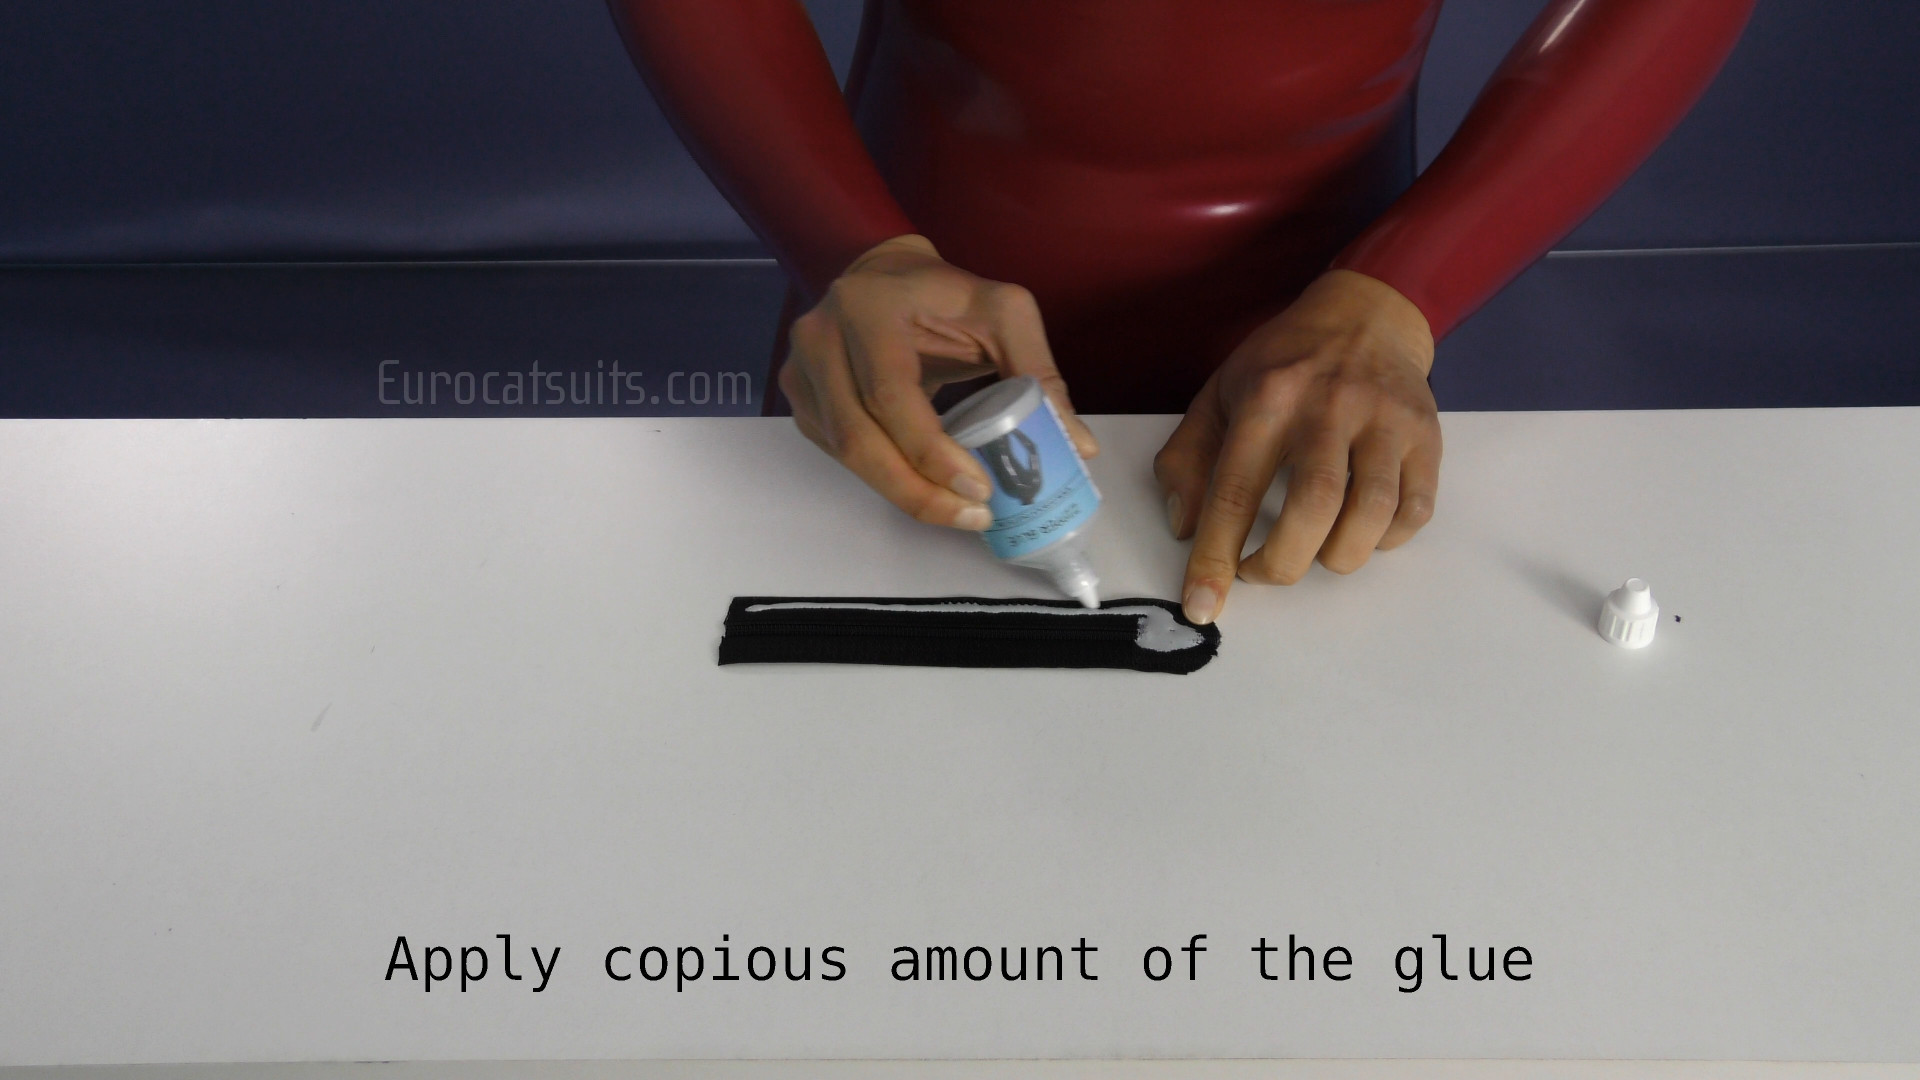 |
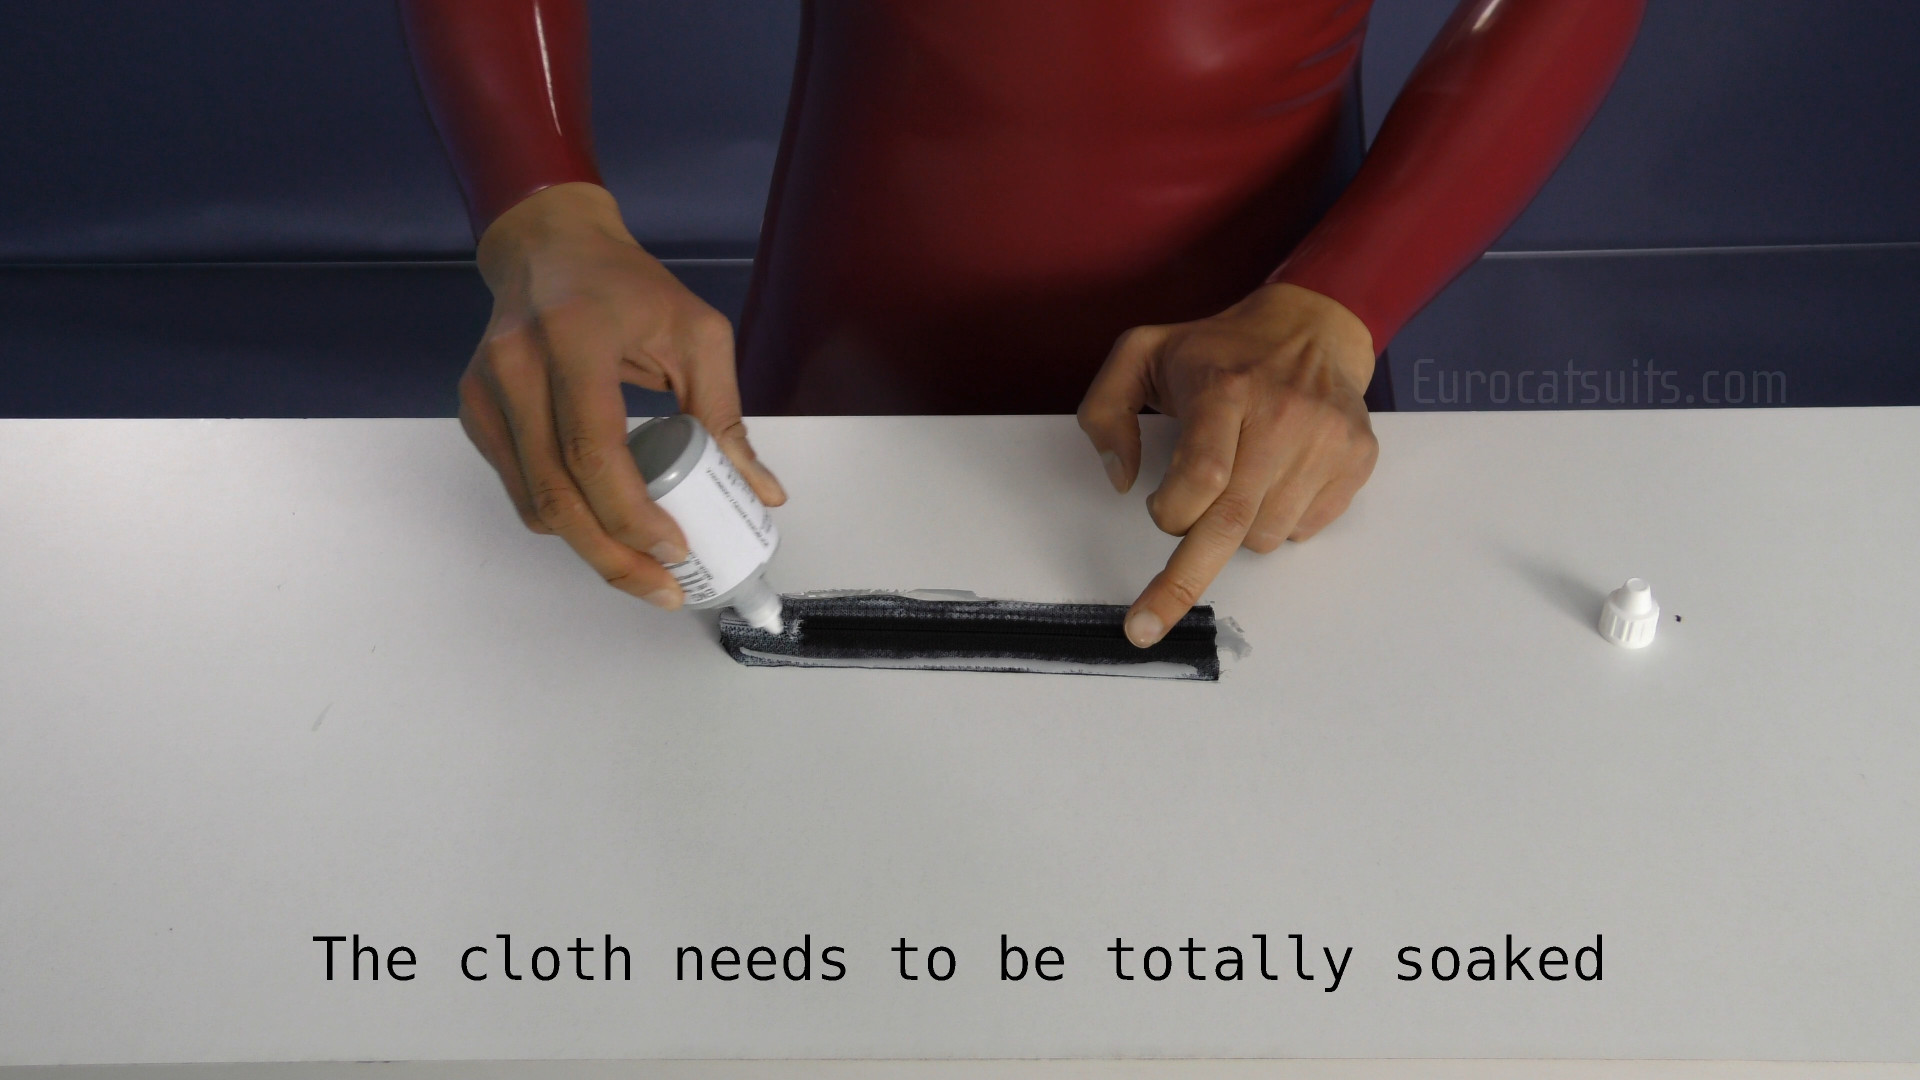
Because the cloth of the zipper is very porous, it would not stick to the latex. So before gluing the zipper to latex you must first impregnate the cloth with the zipper glue. This way you will fill the fabric with material, which can be glued to latex. The zipper glue you use should be the same color as the zipper itself (in our case , black). You don´t need to worry about the fact , that the glue looks grey at the first - it will turn black after it dries. |
 |
To help the glue to penetrate all microcavities, press the cloth gently with fingers. |
 |
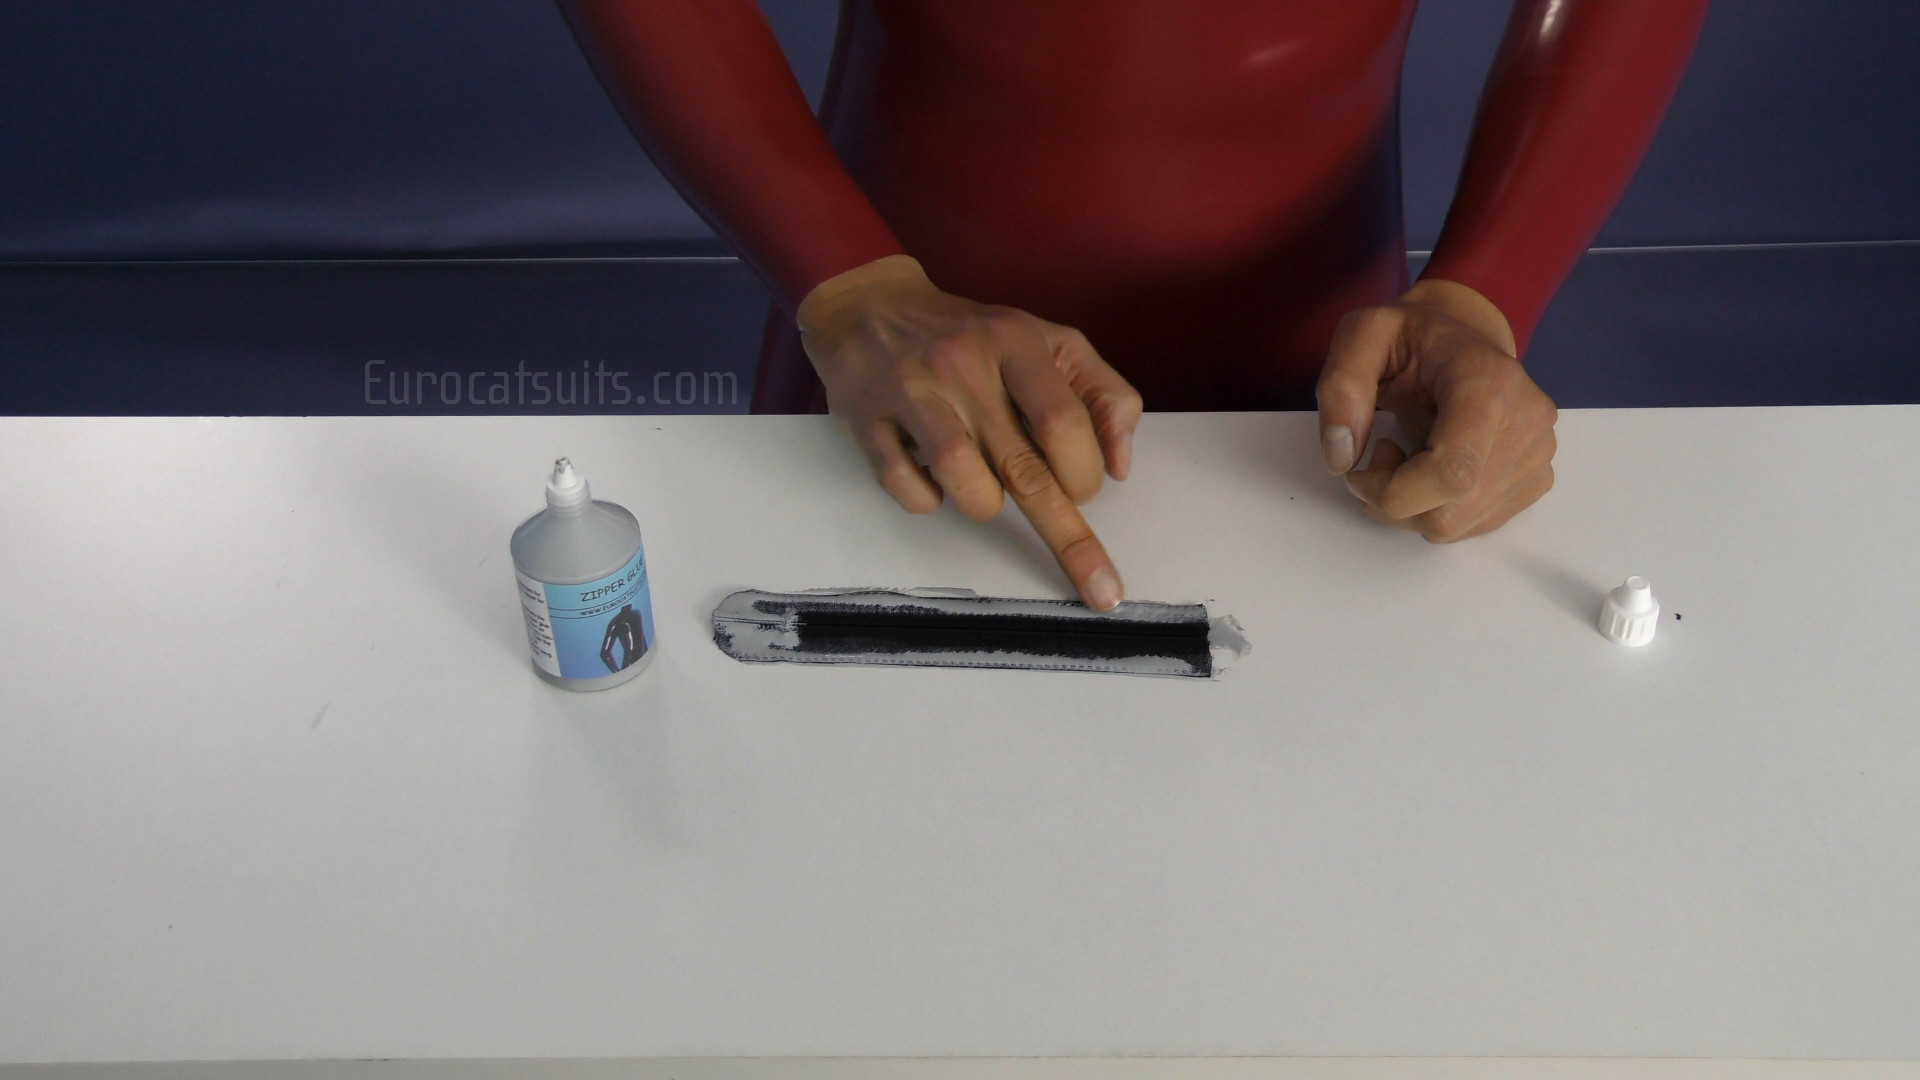
Also the stop at the end of the zip should be impregnated with the zipper glue. It will dry within about 1 hour, depending on temperature. |
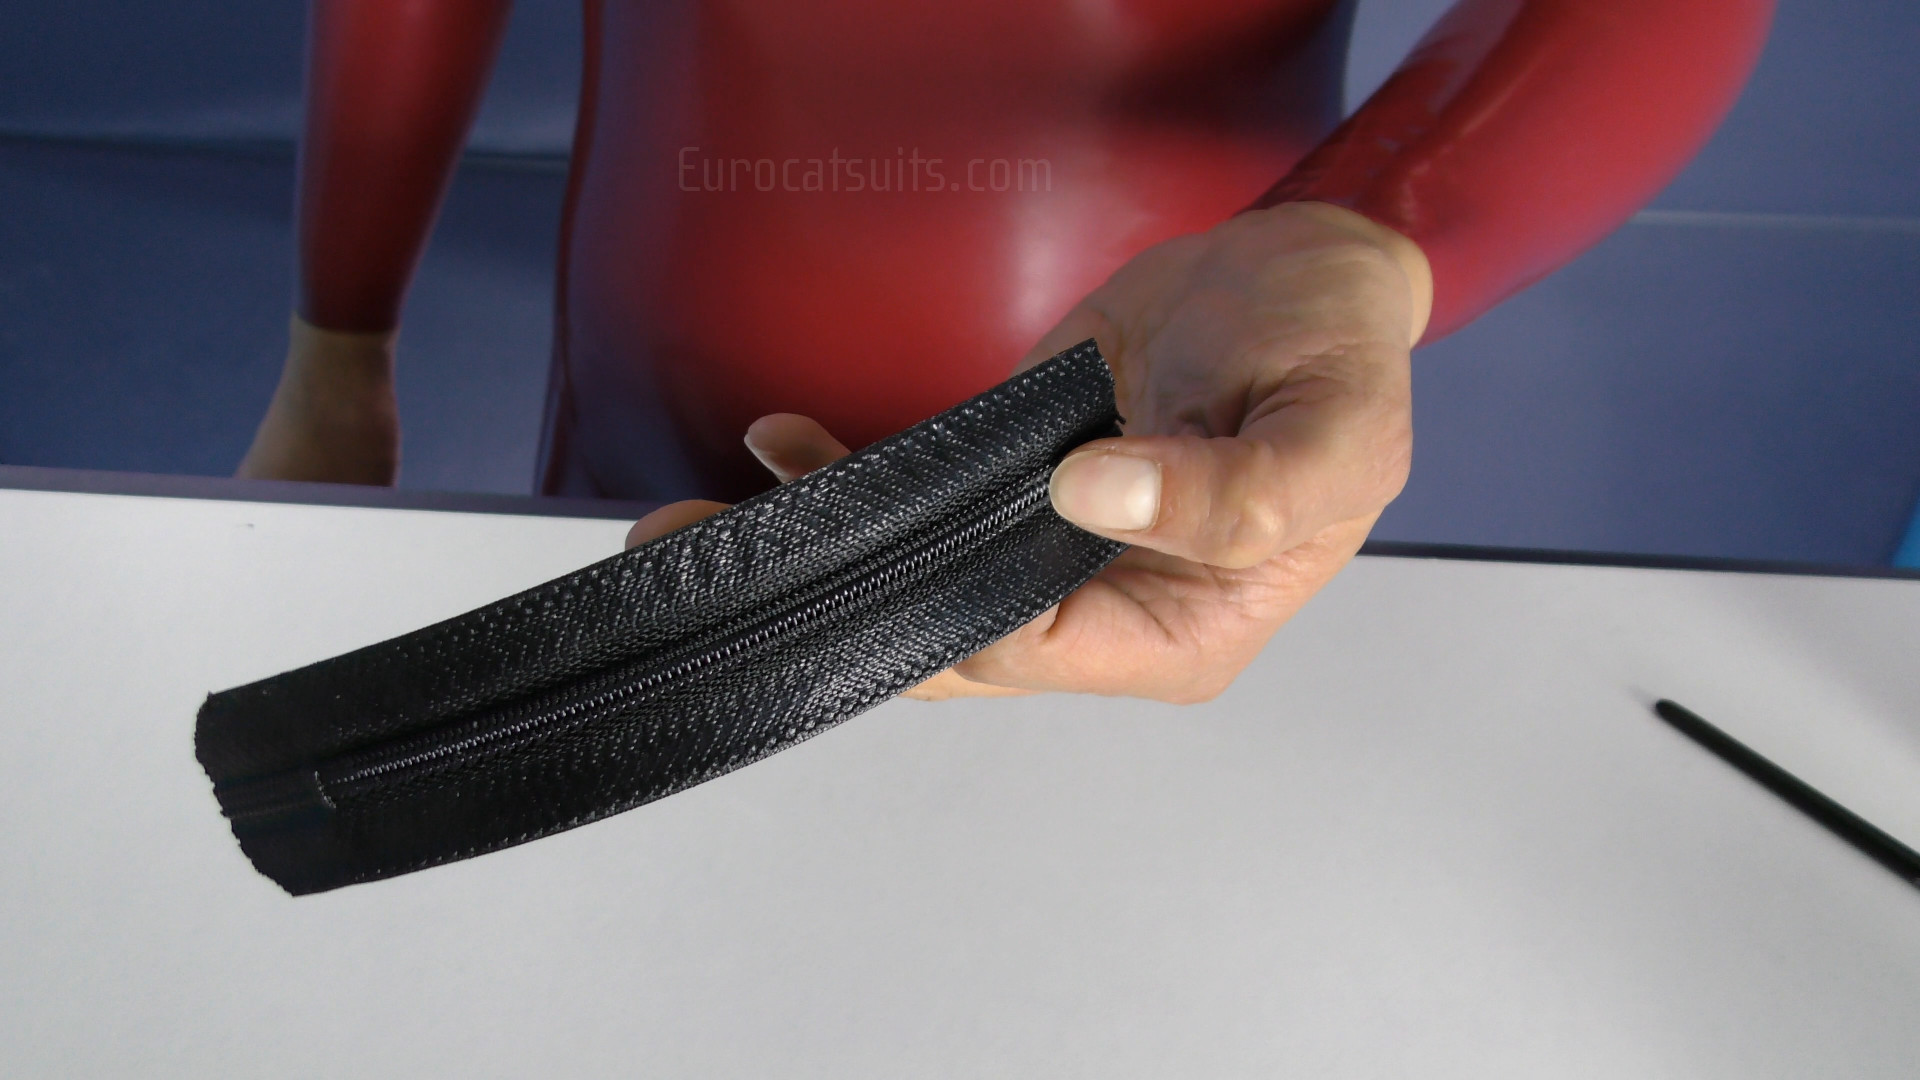 |
This is, what the zipper looks like, after we have applied the zipper glue to it. You can now notice, that it has taken on rubber-like appearance and has already turned black . |
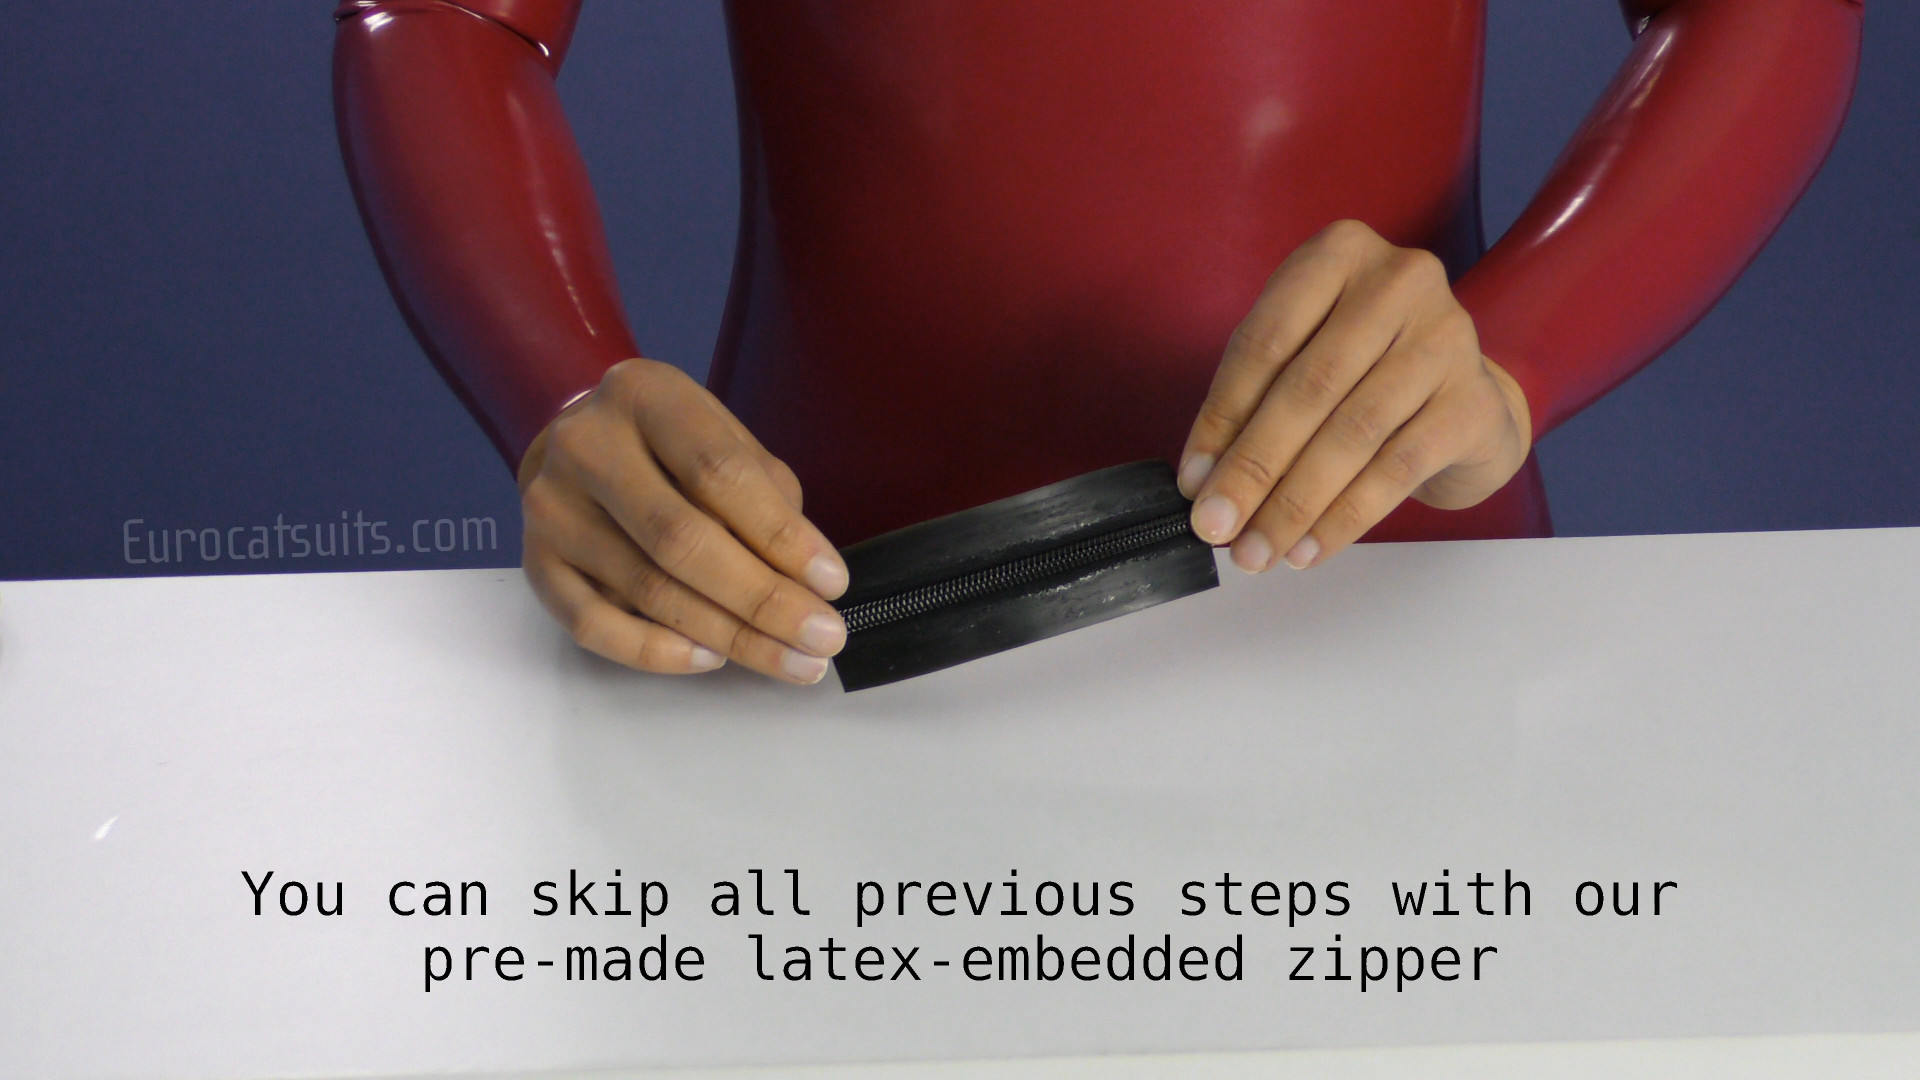 |
Technologically superior is to use our rubberized zipper - reduced risk of latex ripping right next to zipper ( caused by zipper not being stretchy) - reduced risk of zipper becomming detached - even when comparing it to zipper soaked with our zipper glue and overlaped with reinforcing latex stripes on inside - saves lots of time by eliminating need to prepare the zipper yourself ( otherwise you need to soak the zipper with zipper glue , glue it with latex and then glue latex stripes over the edges of zipper ) |
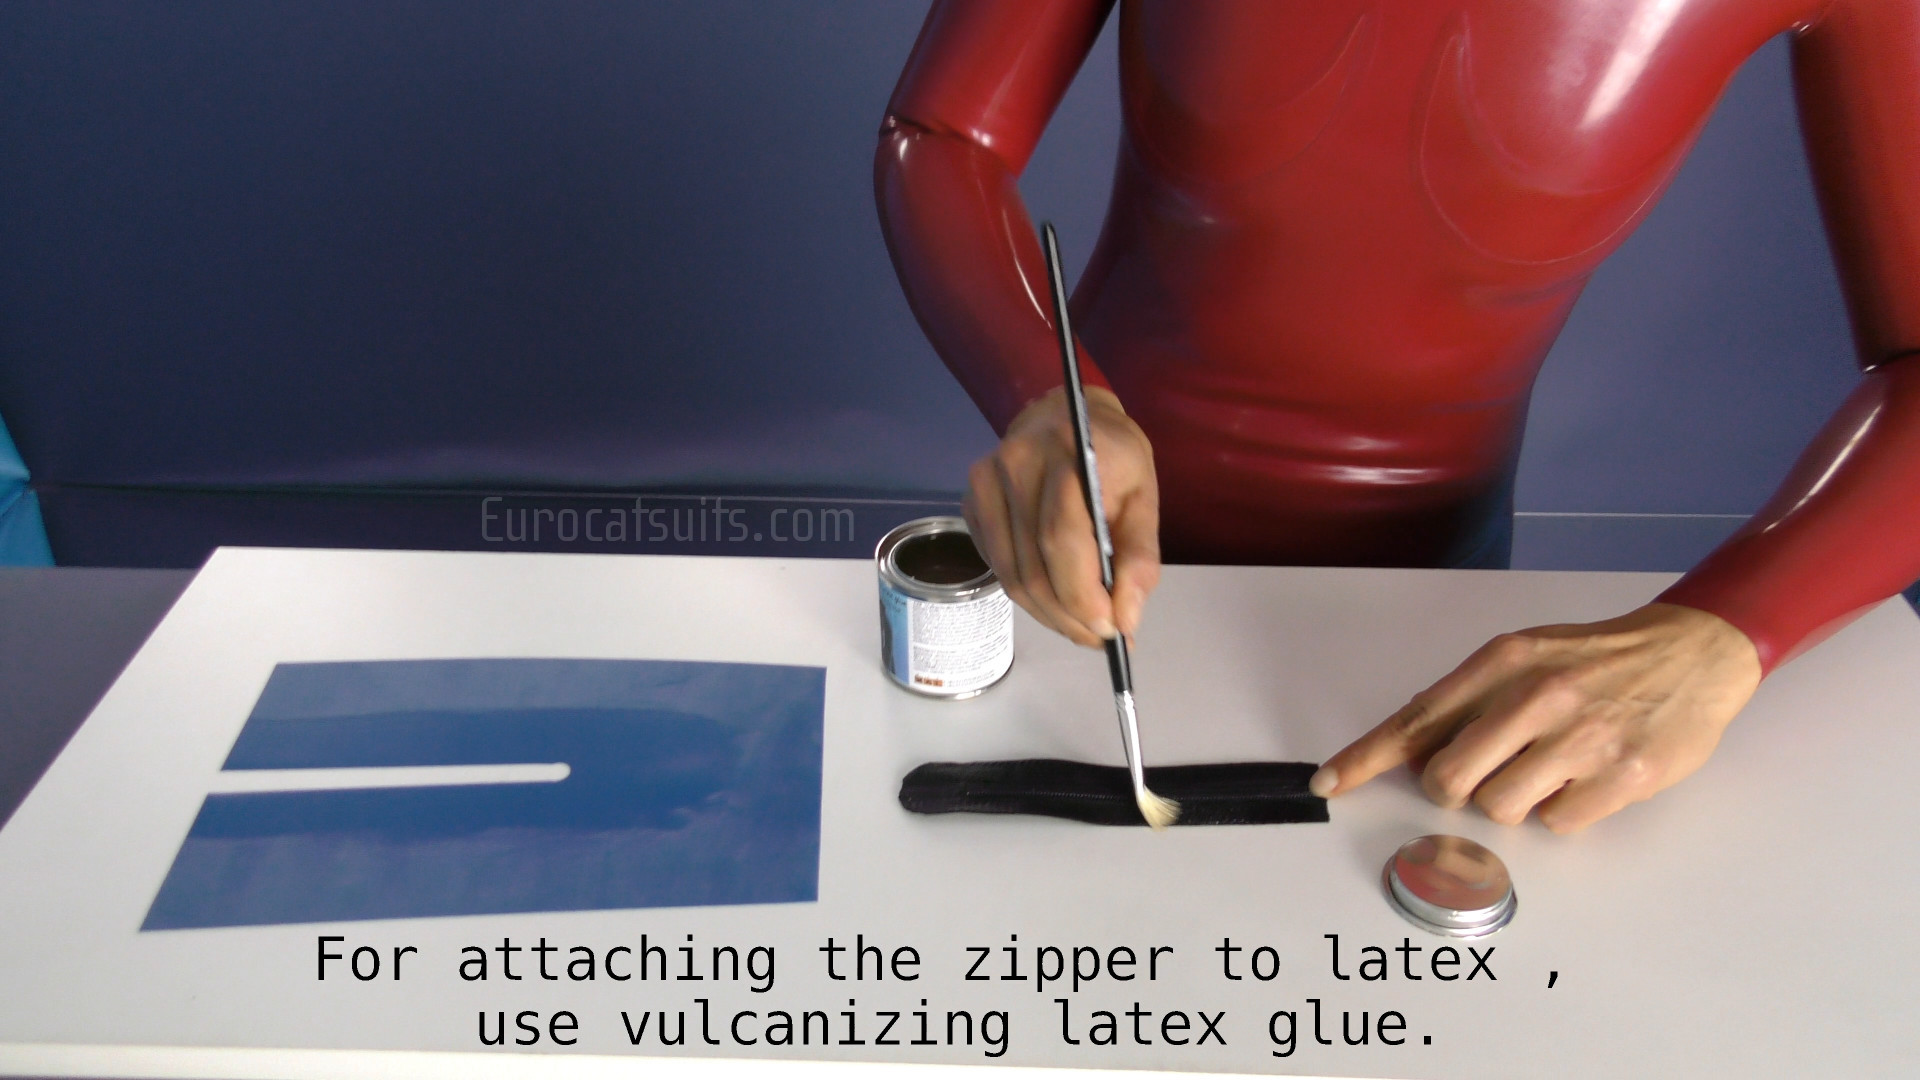 |
Now you can apply the vulcanizing glue to zip. |
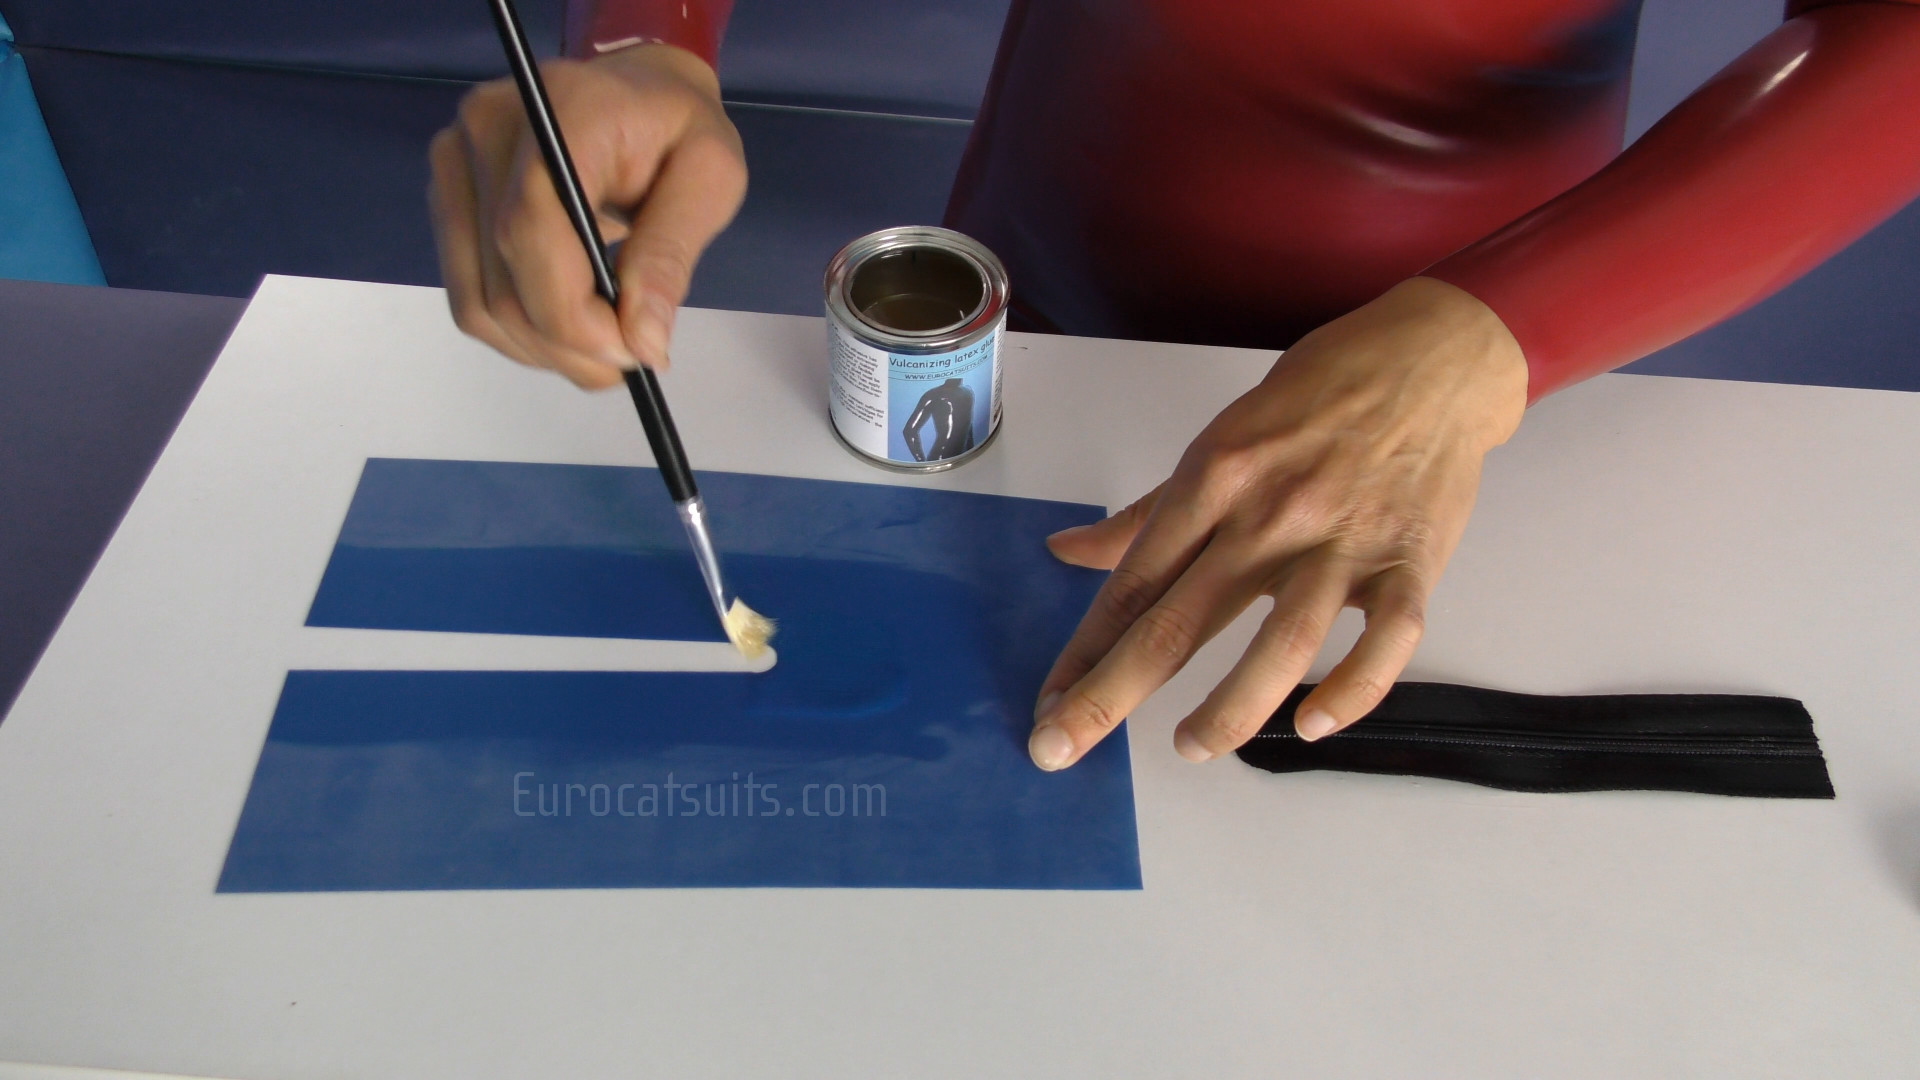 |
Now apply the vulcanizing glue also on the latex sheeting. |
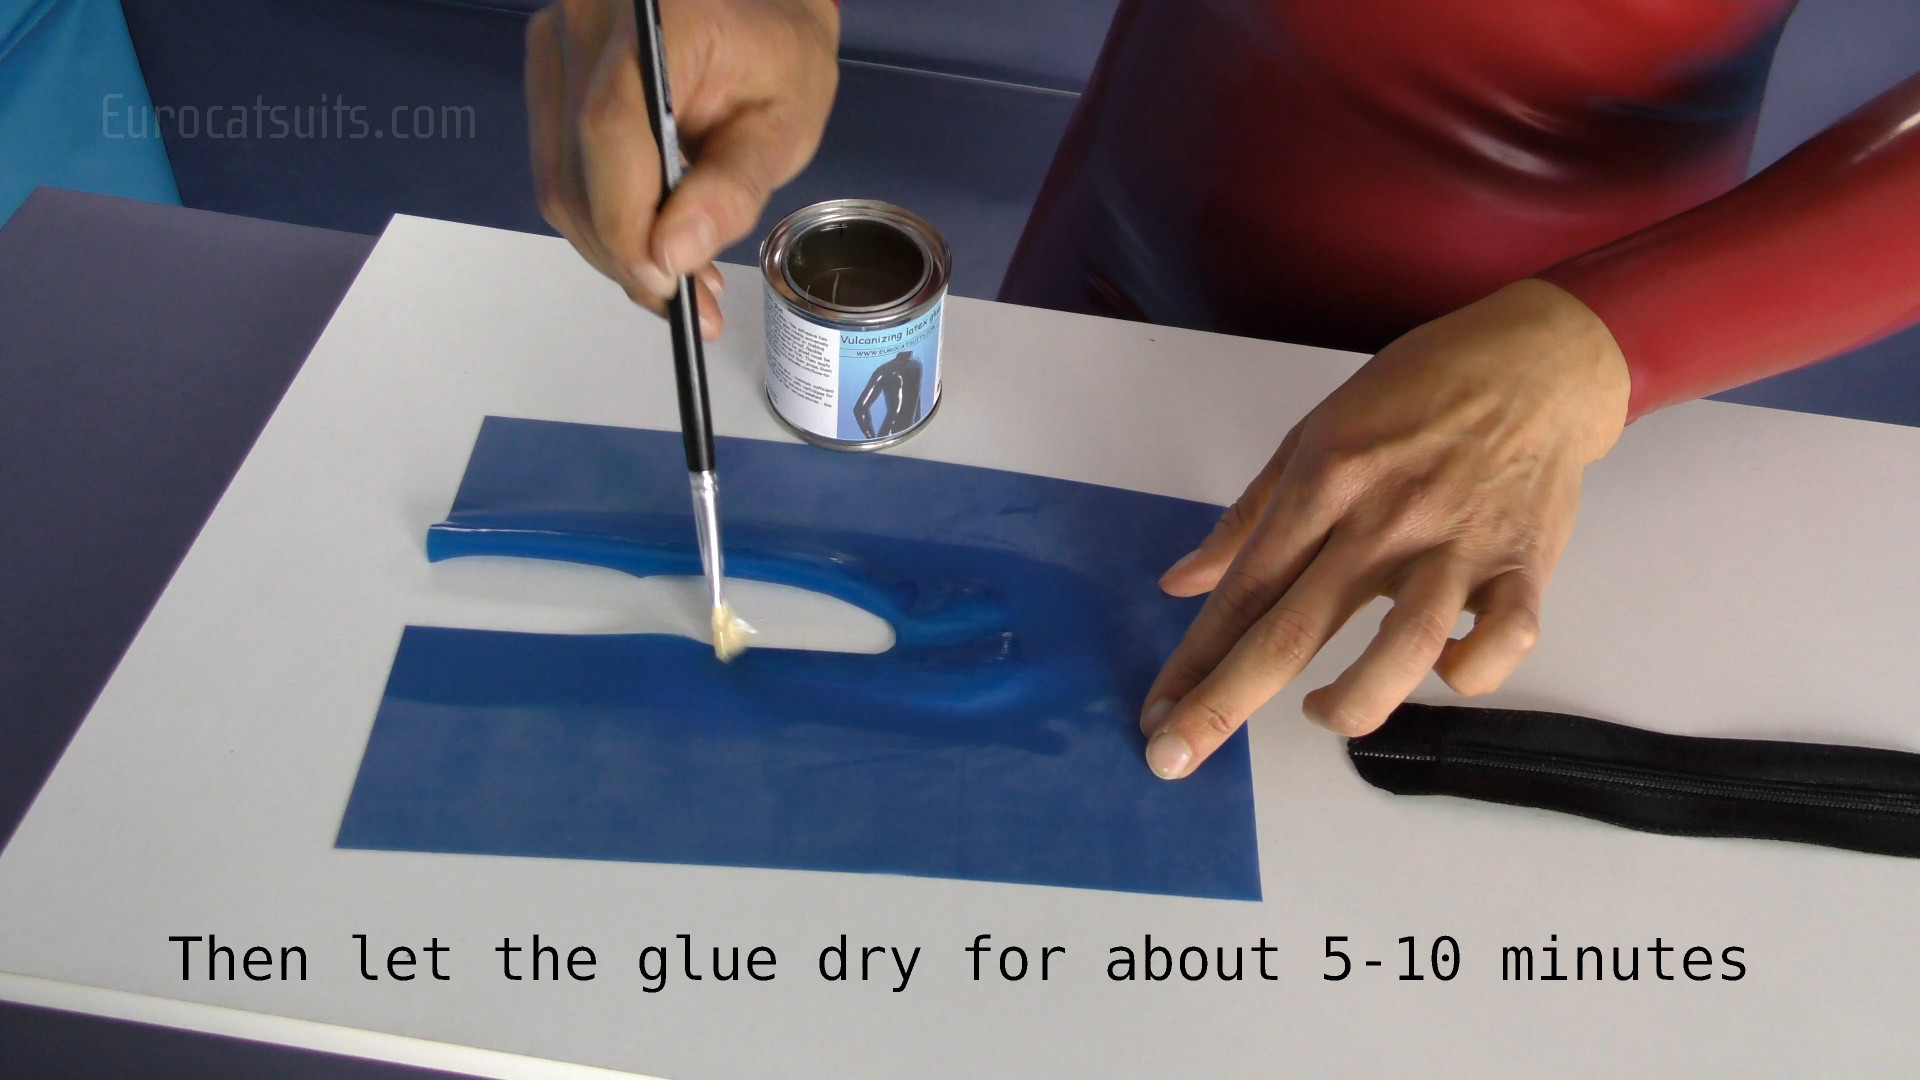 |
Let it dry for about 5-10 minutes |
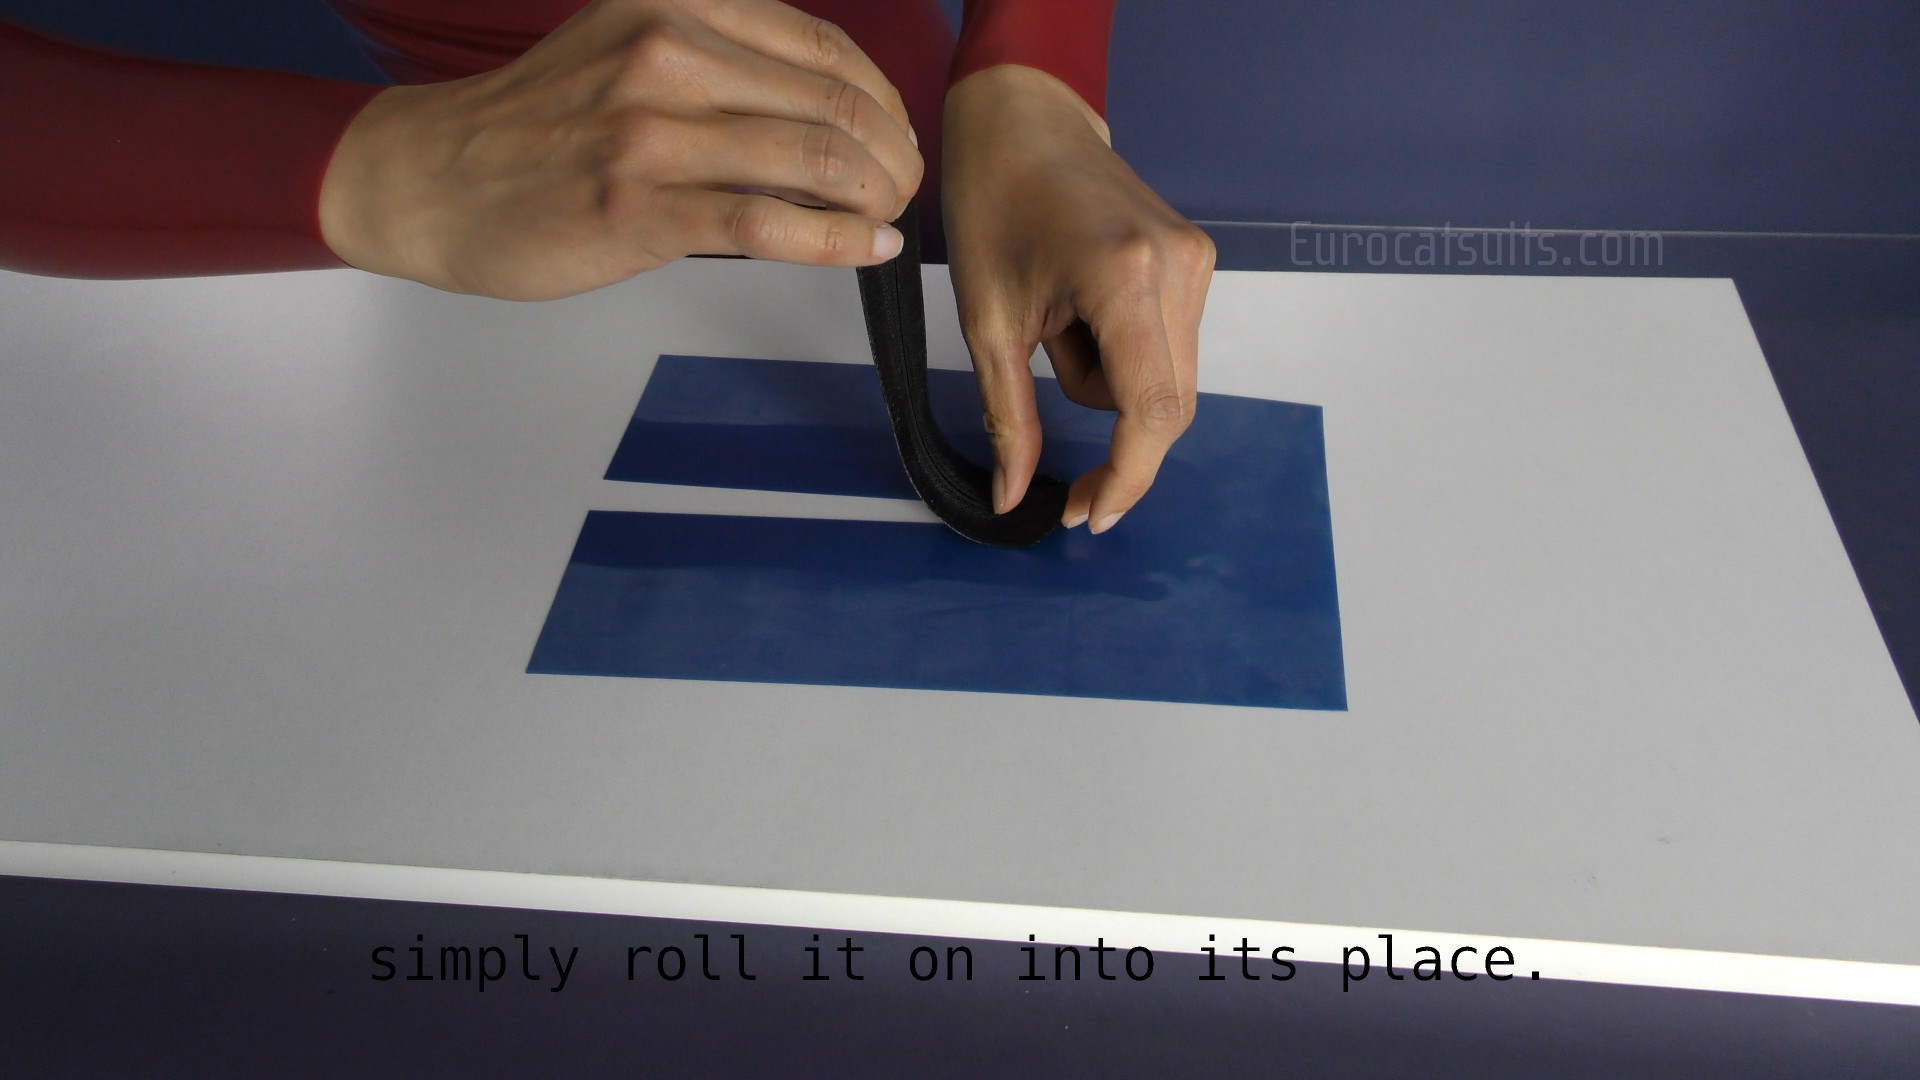 |
After it dries you can start assembling zipper and latex together. |
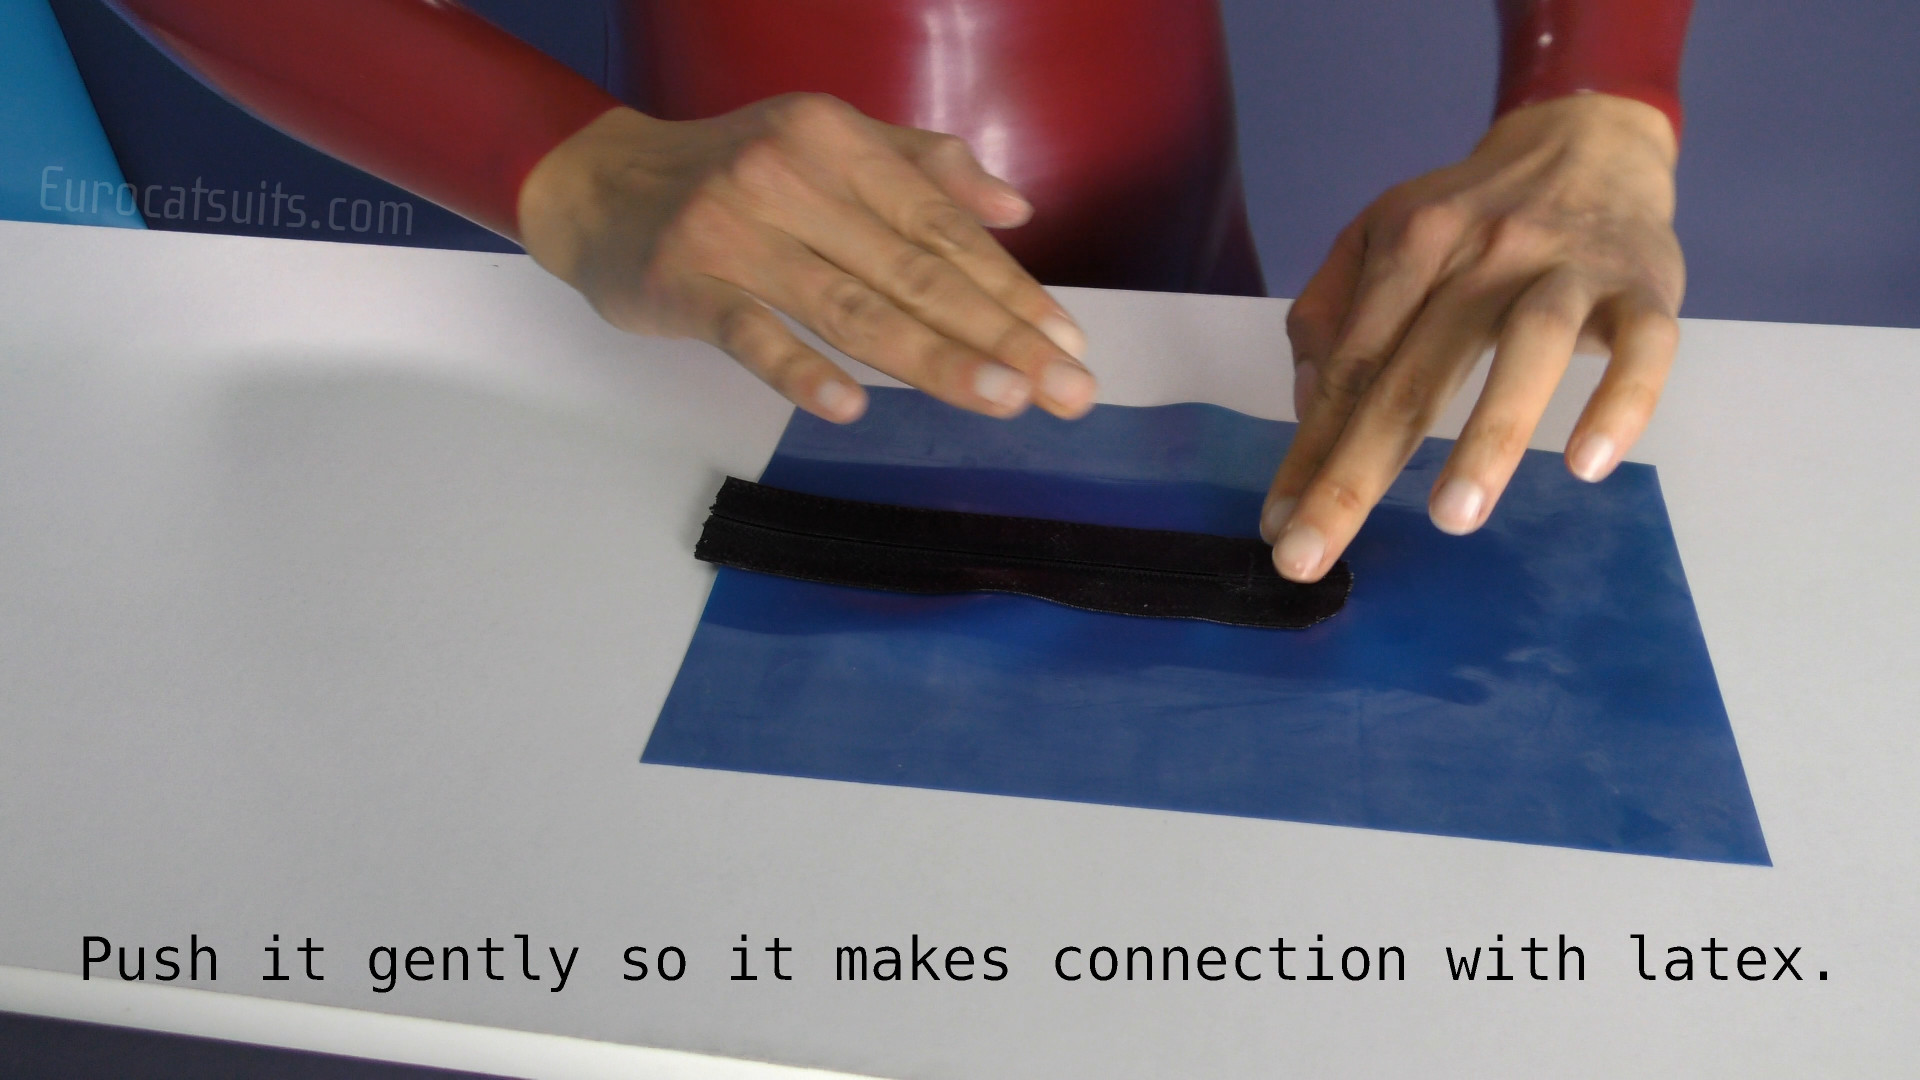 |
Push the zipper to latex |
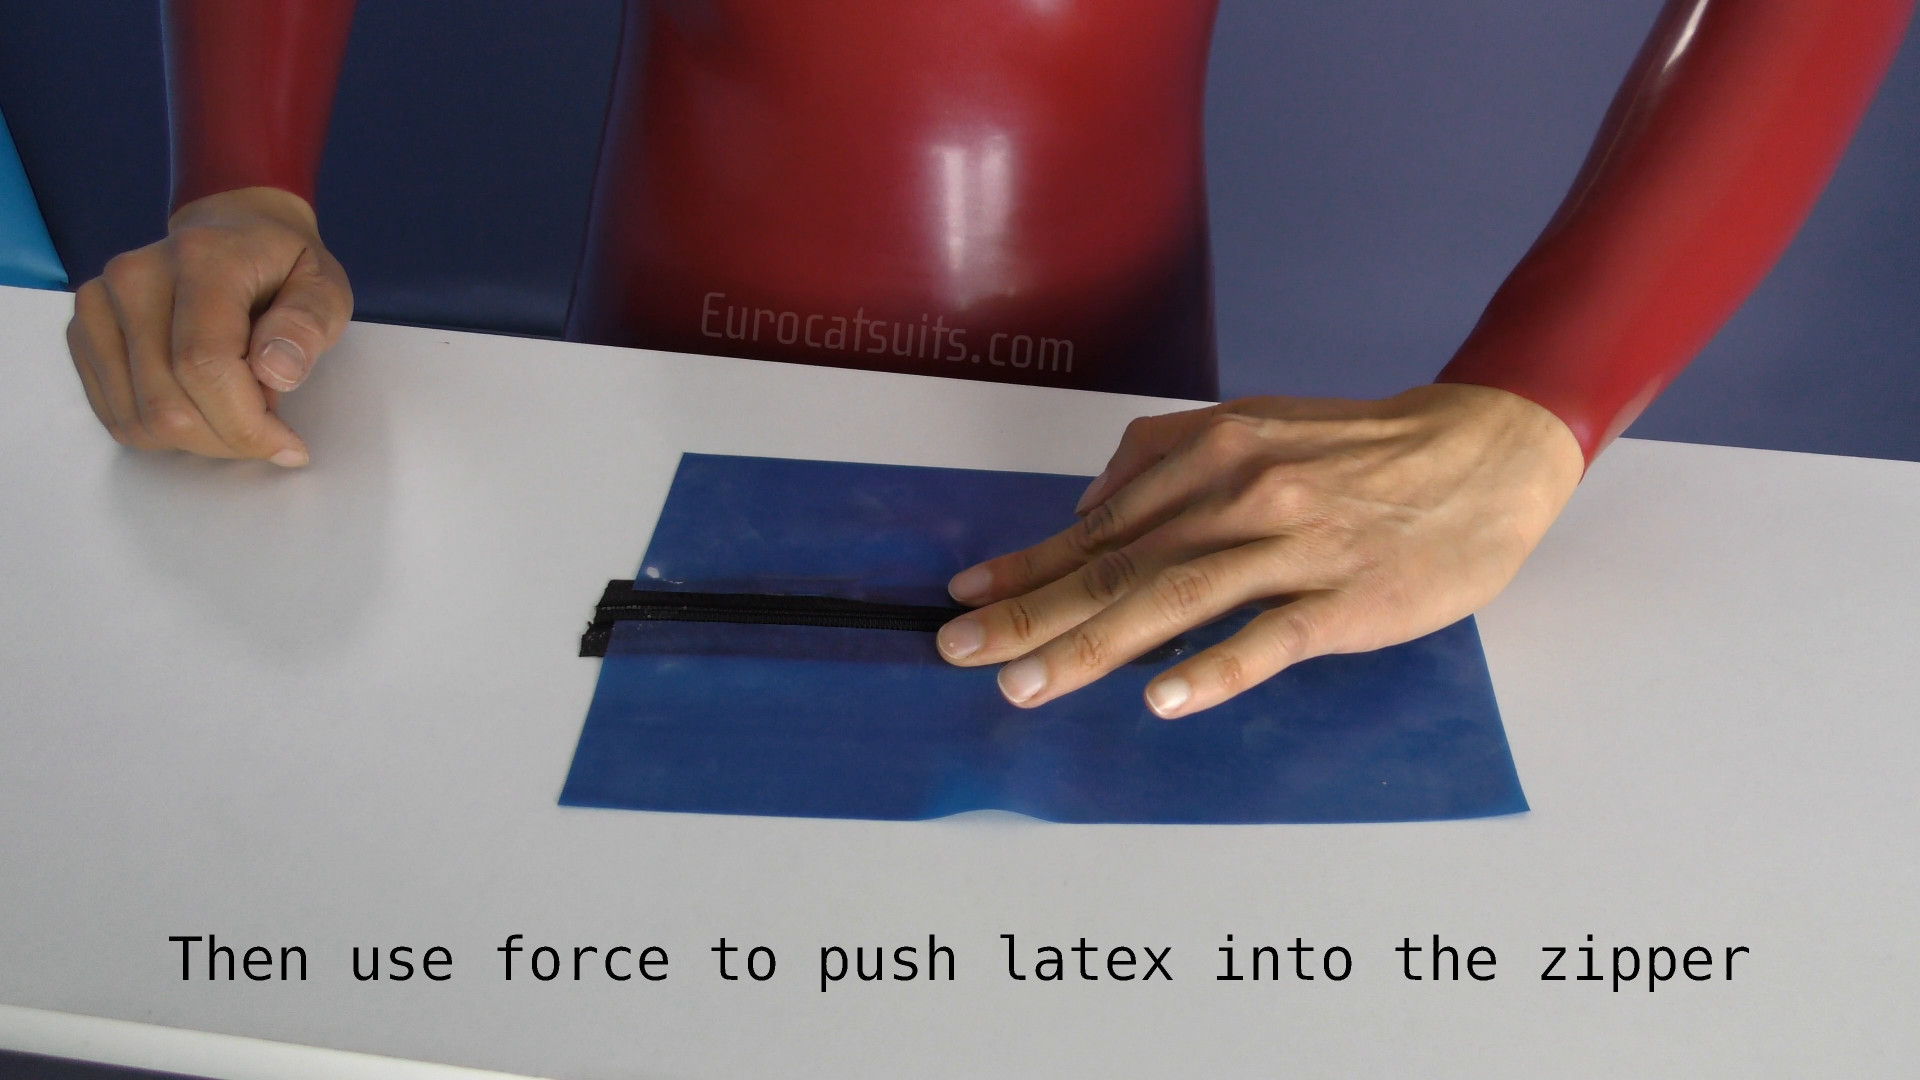 |
press the latex with your thumb |
 |
Trim the zipper to proper length |
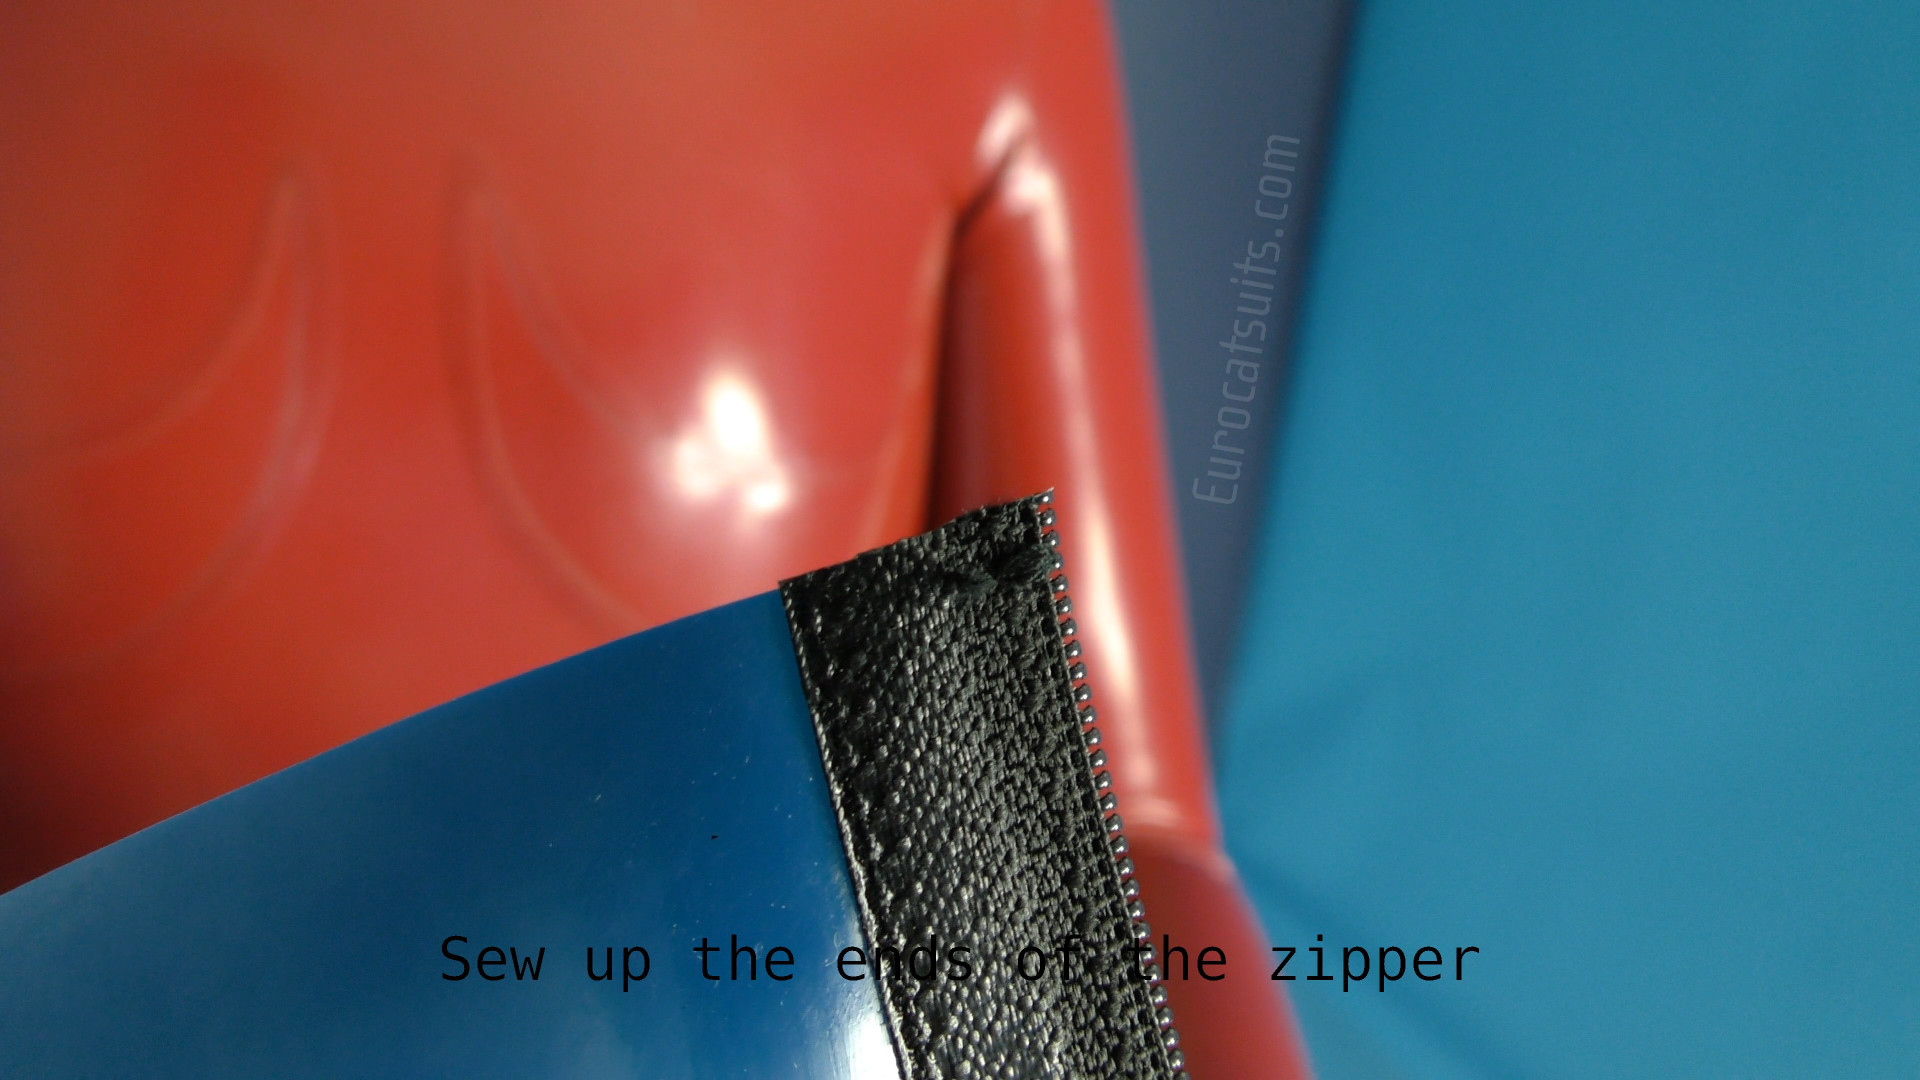 |
Sew up the ends of the zipper |
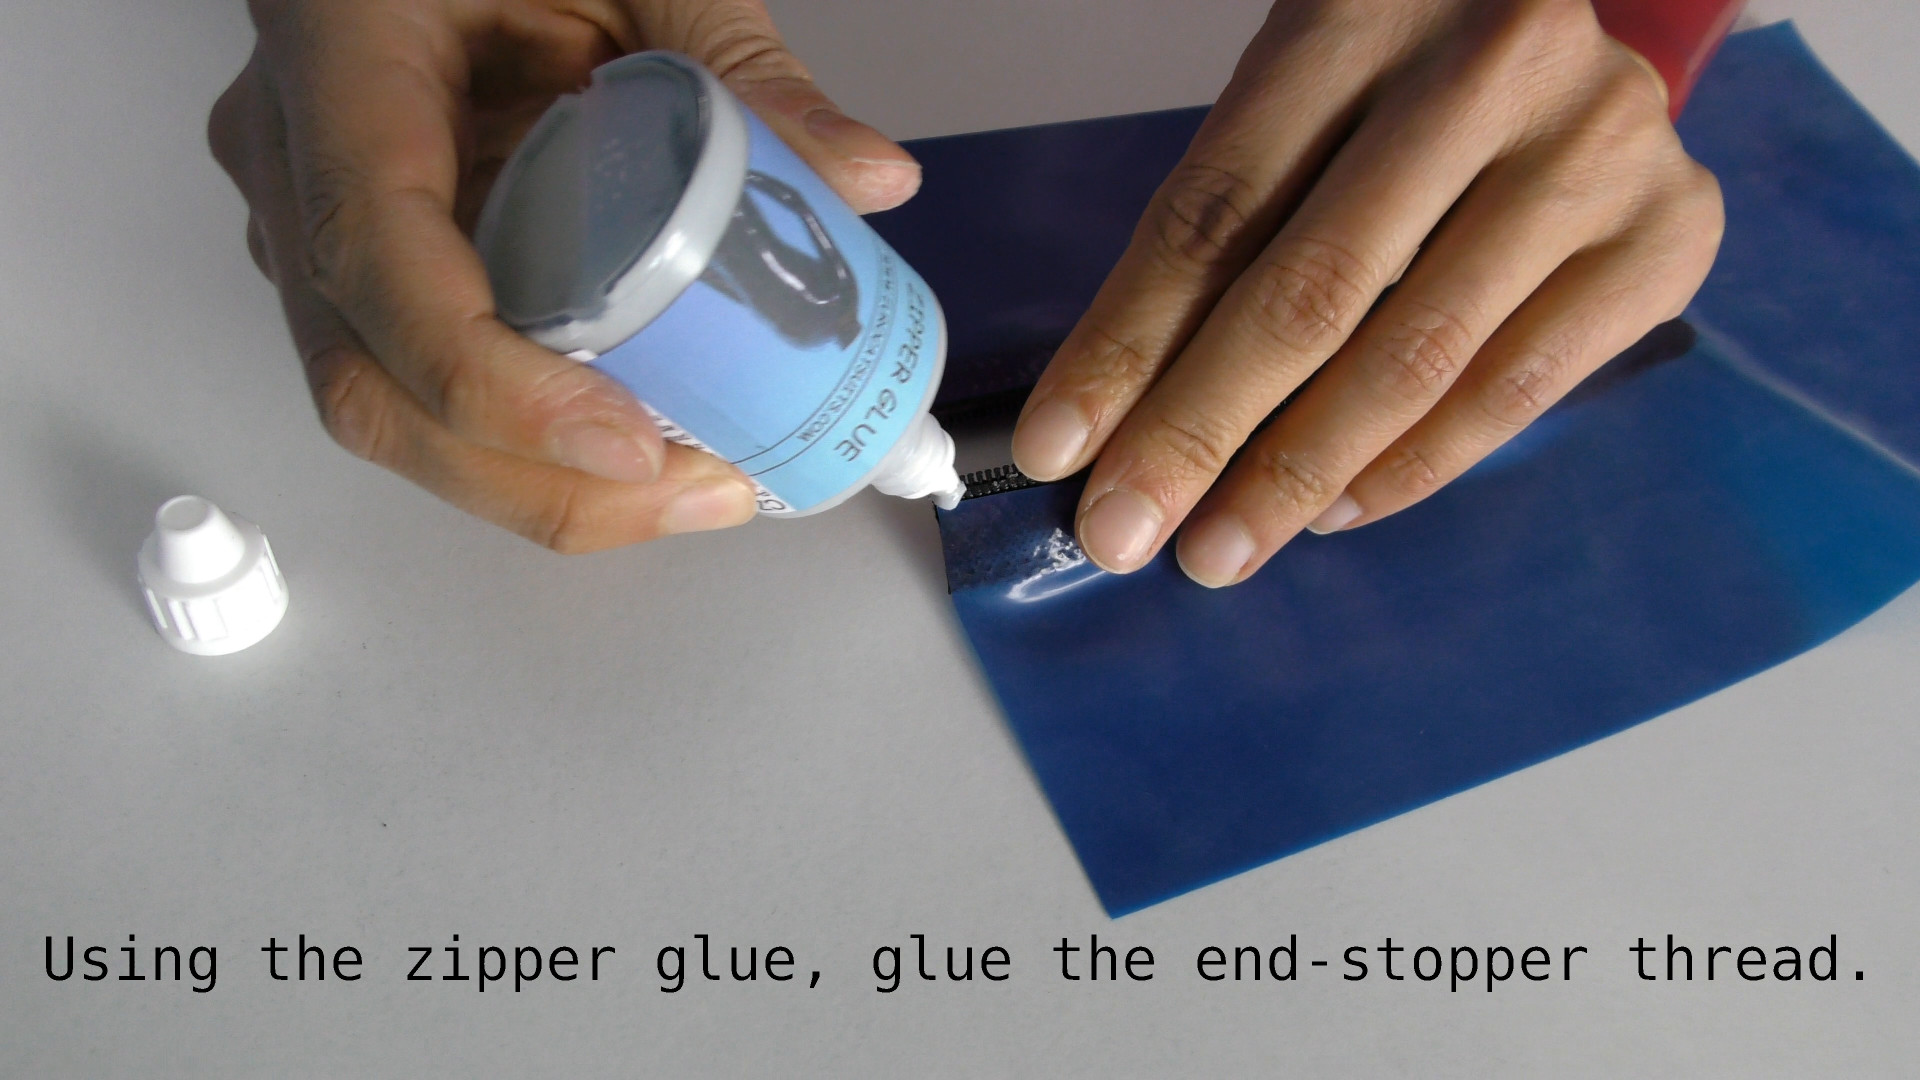 |
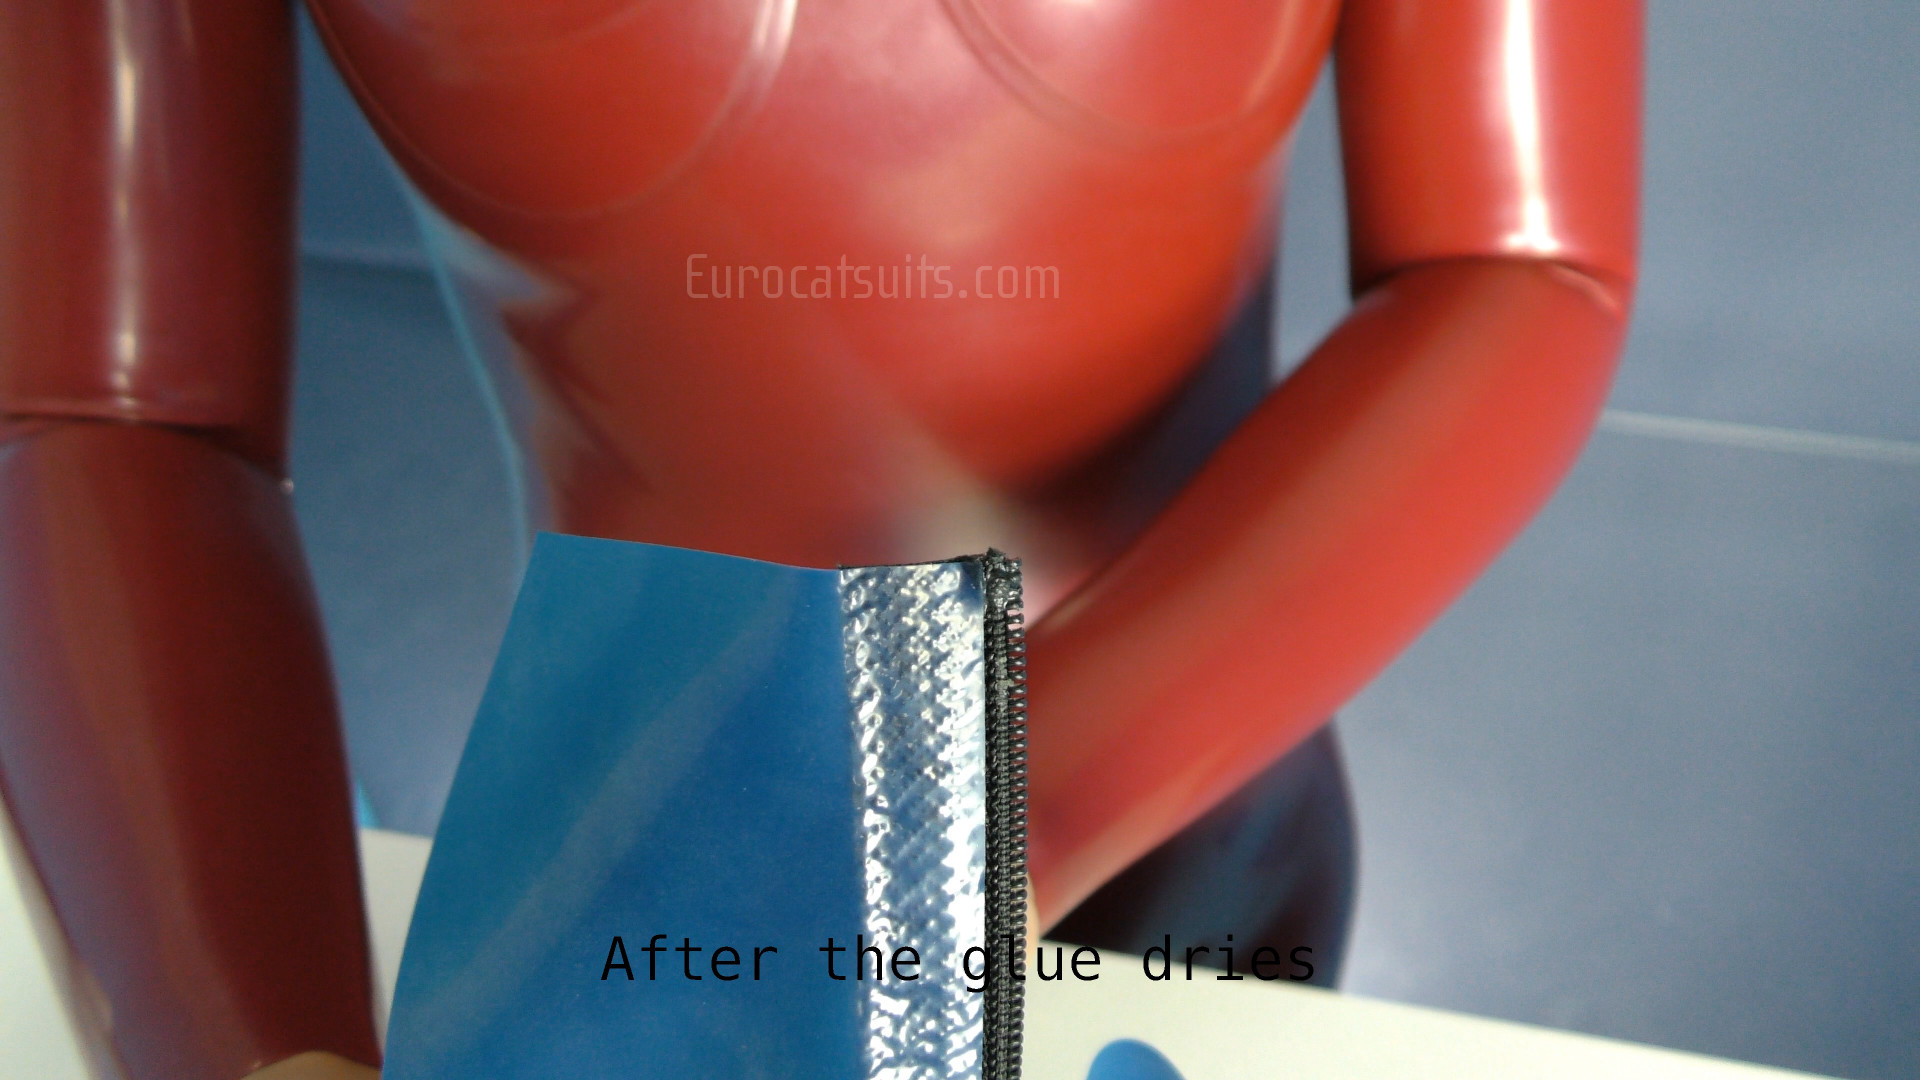
Glue the thread with zipper glue - it will keep it in place |
 |
|
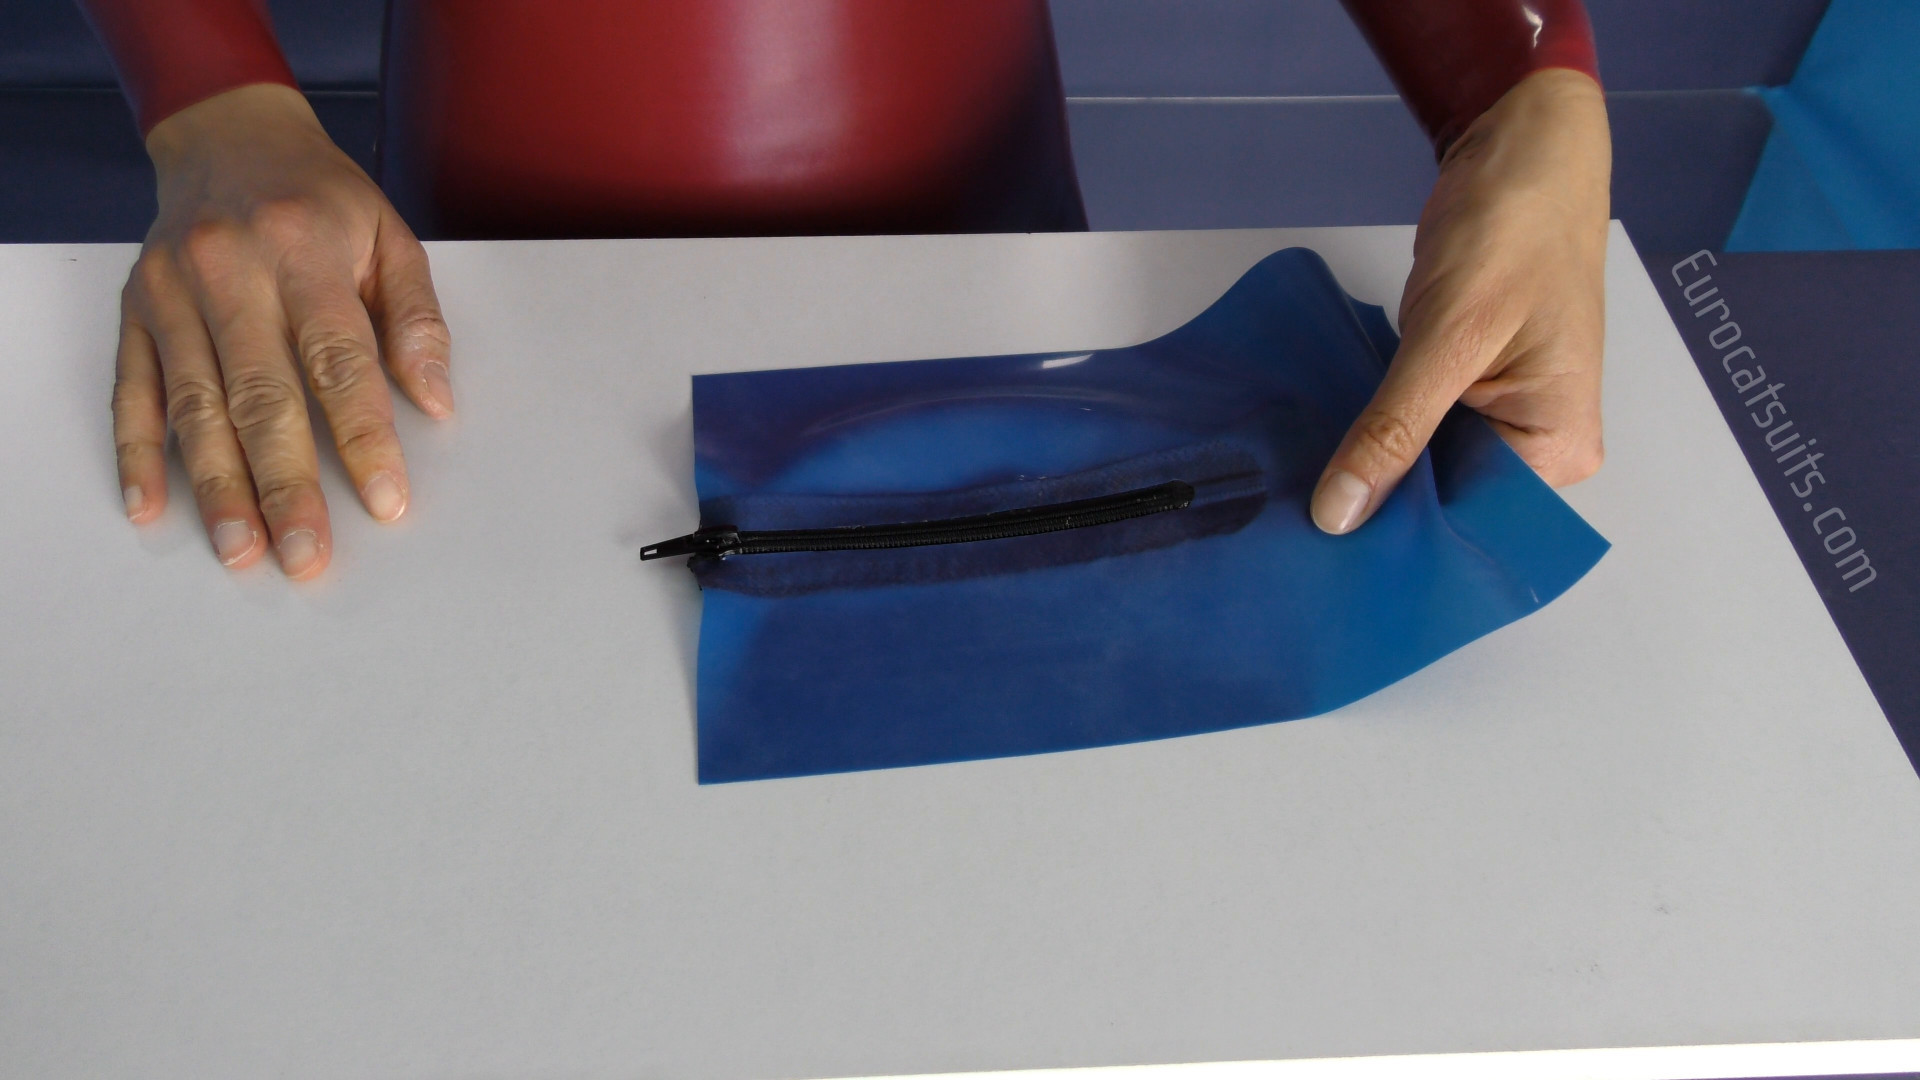 |
DONE ! |